


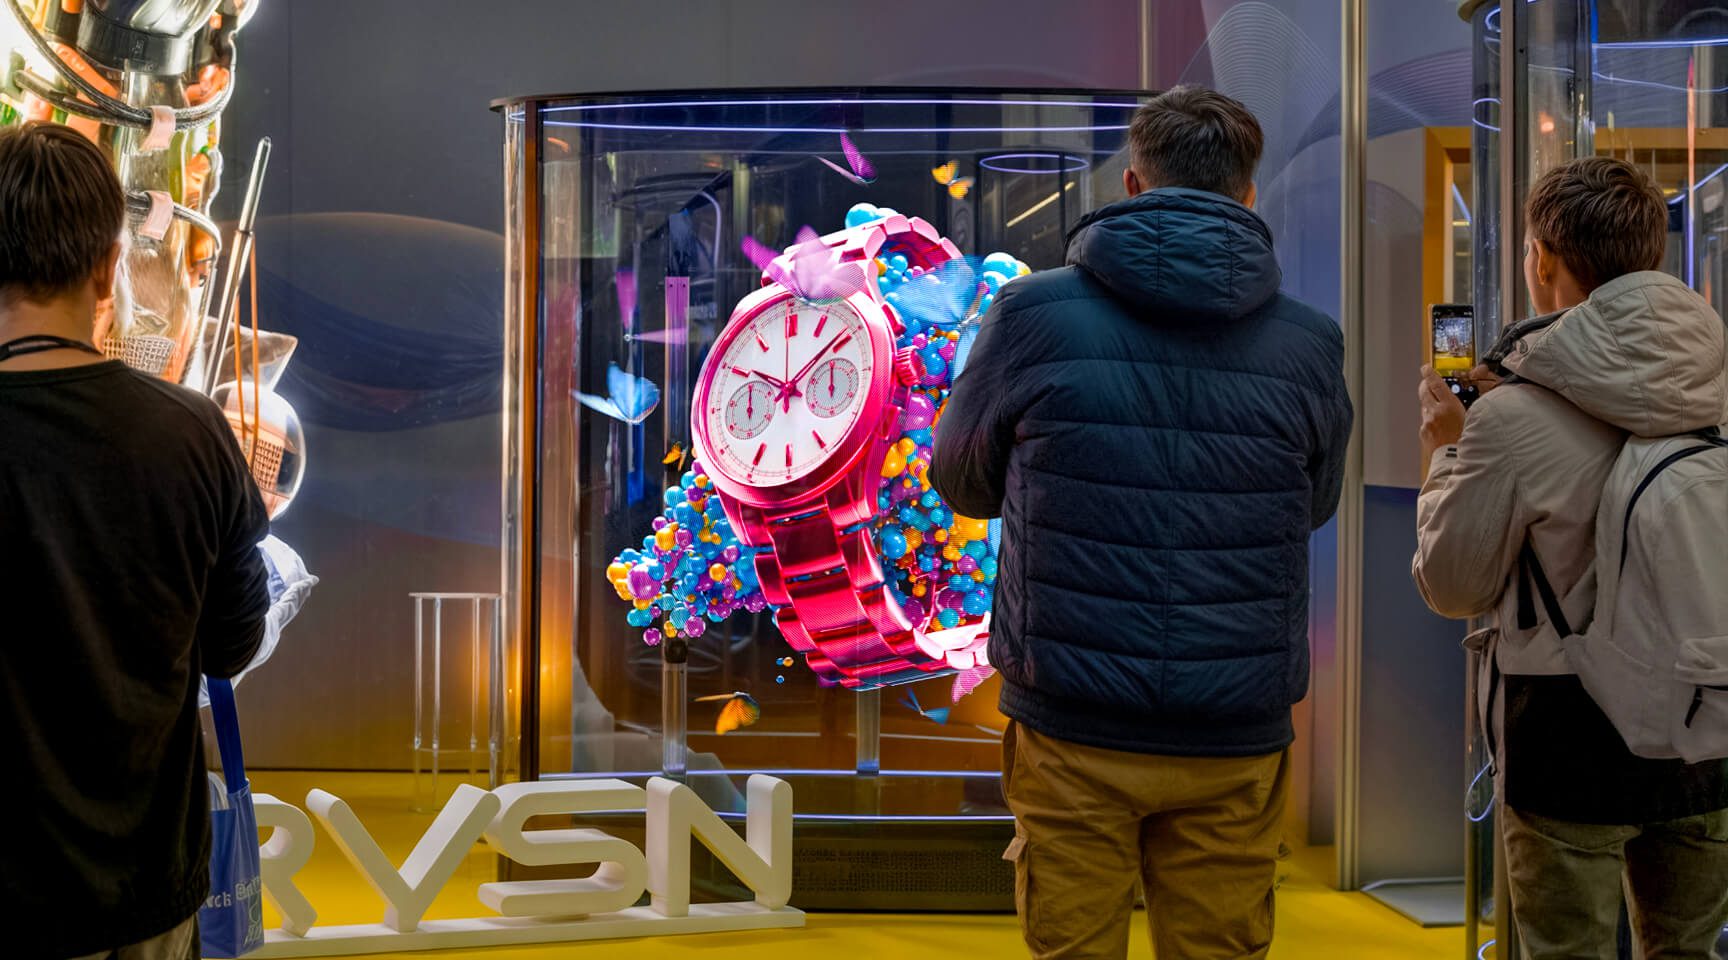

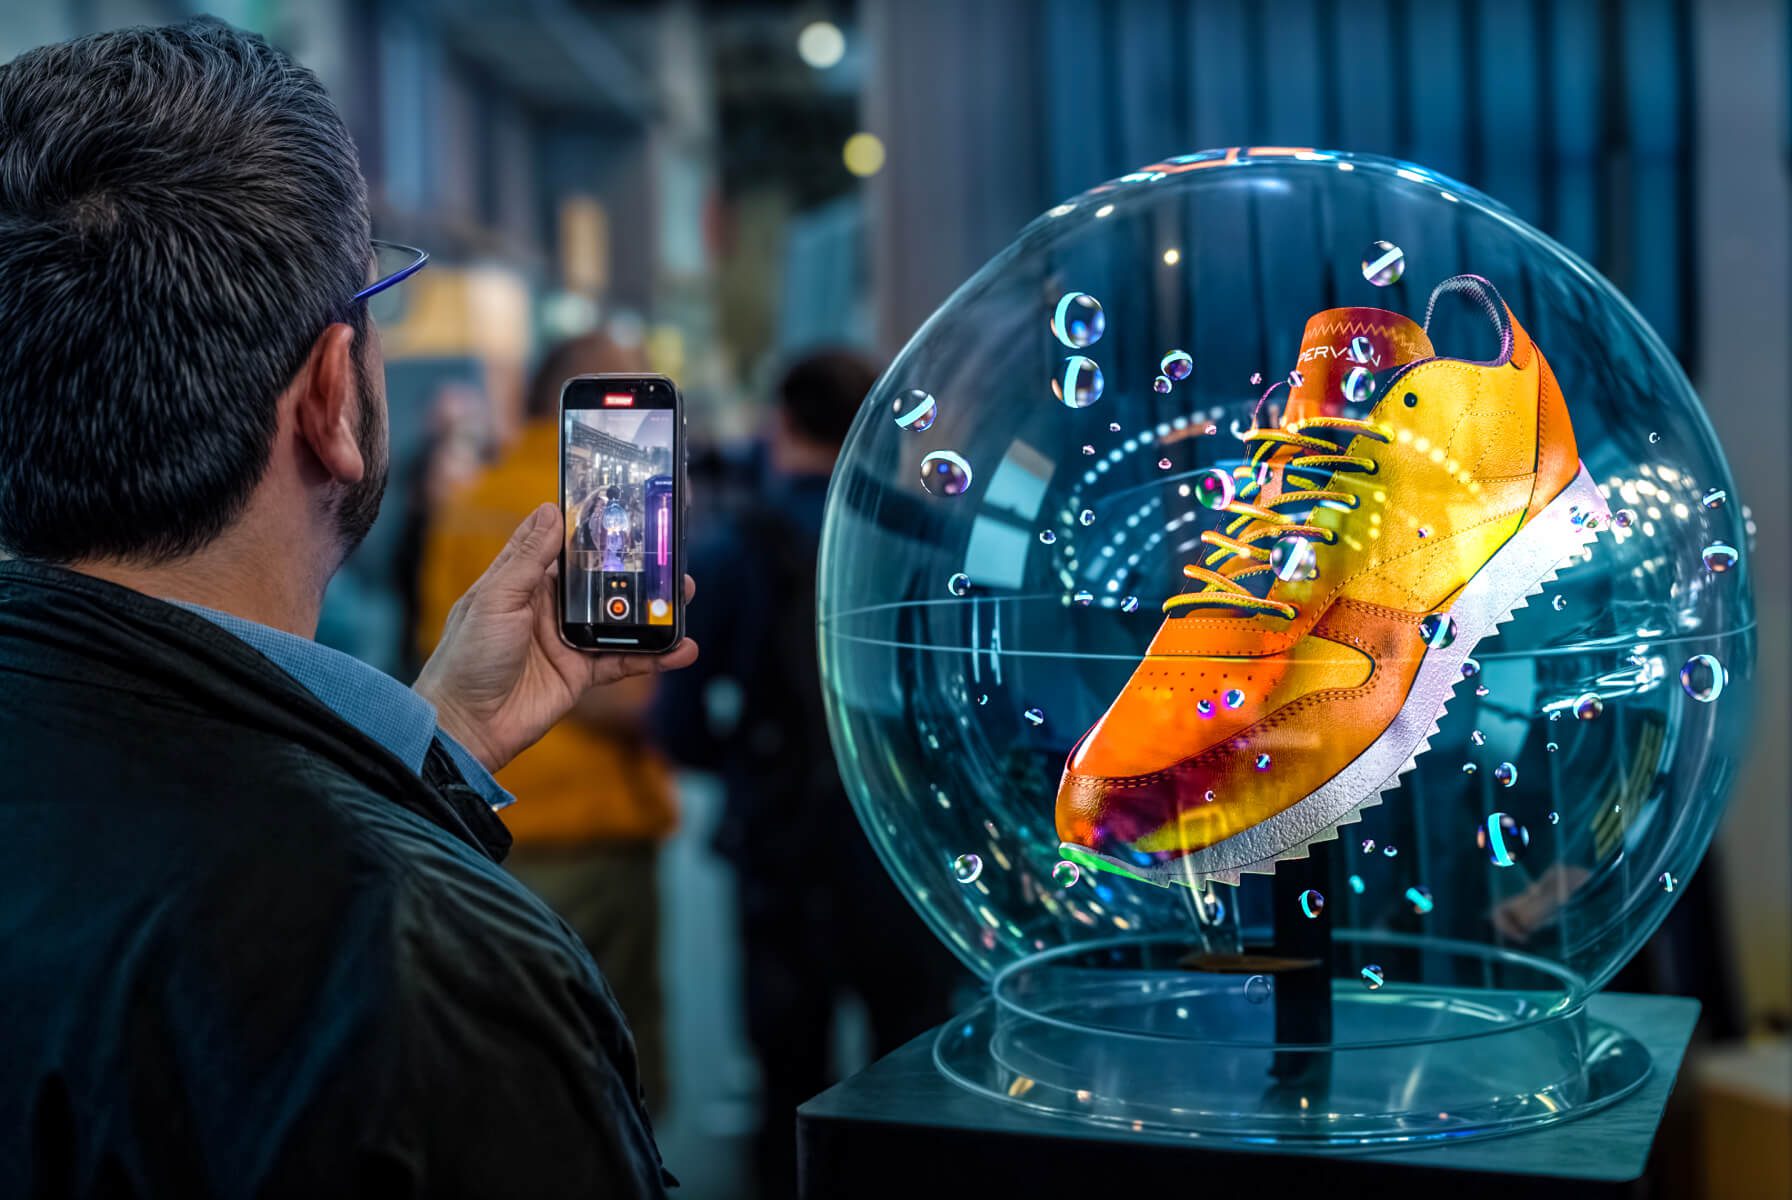


 HYPERVSN SmartV Solo
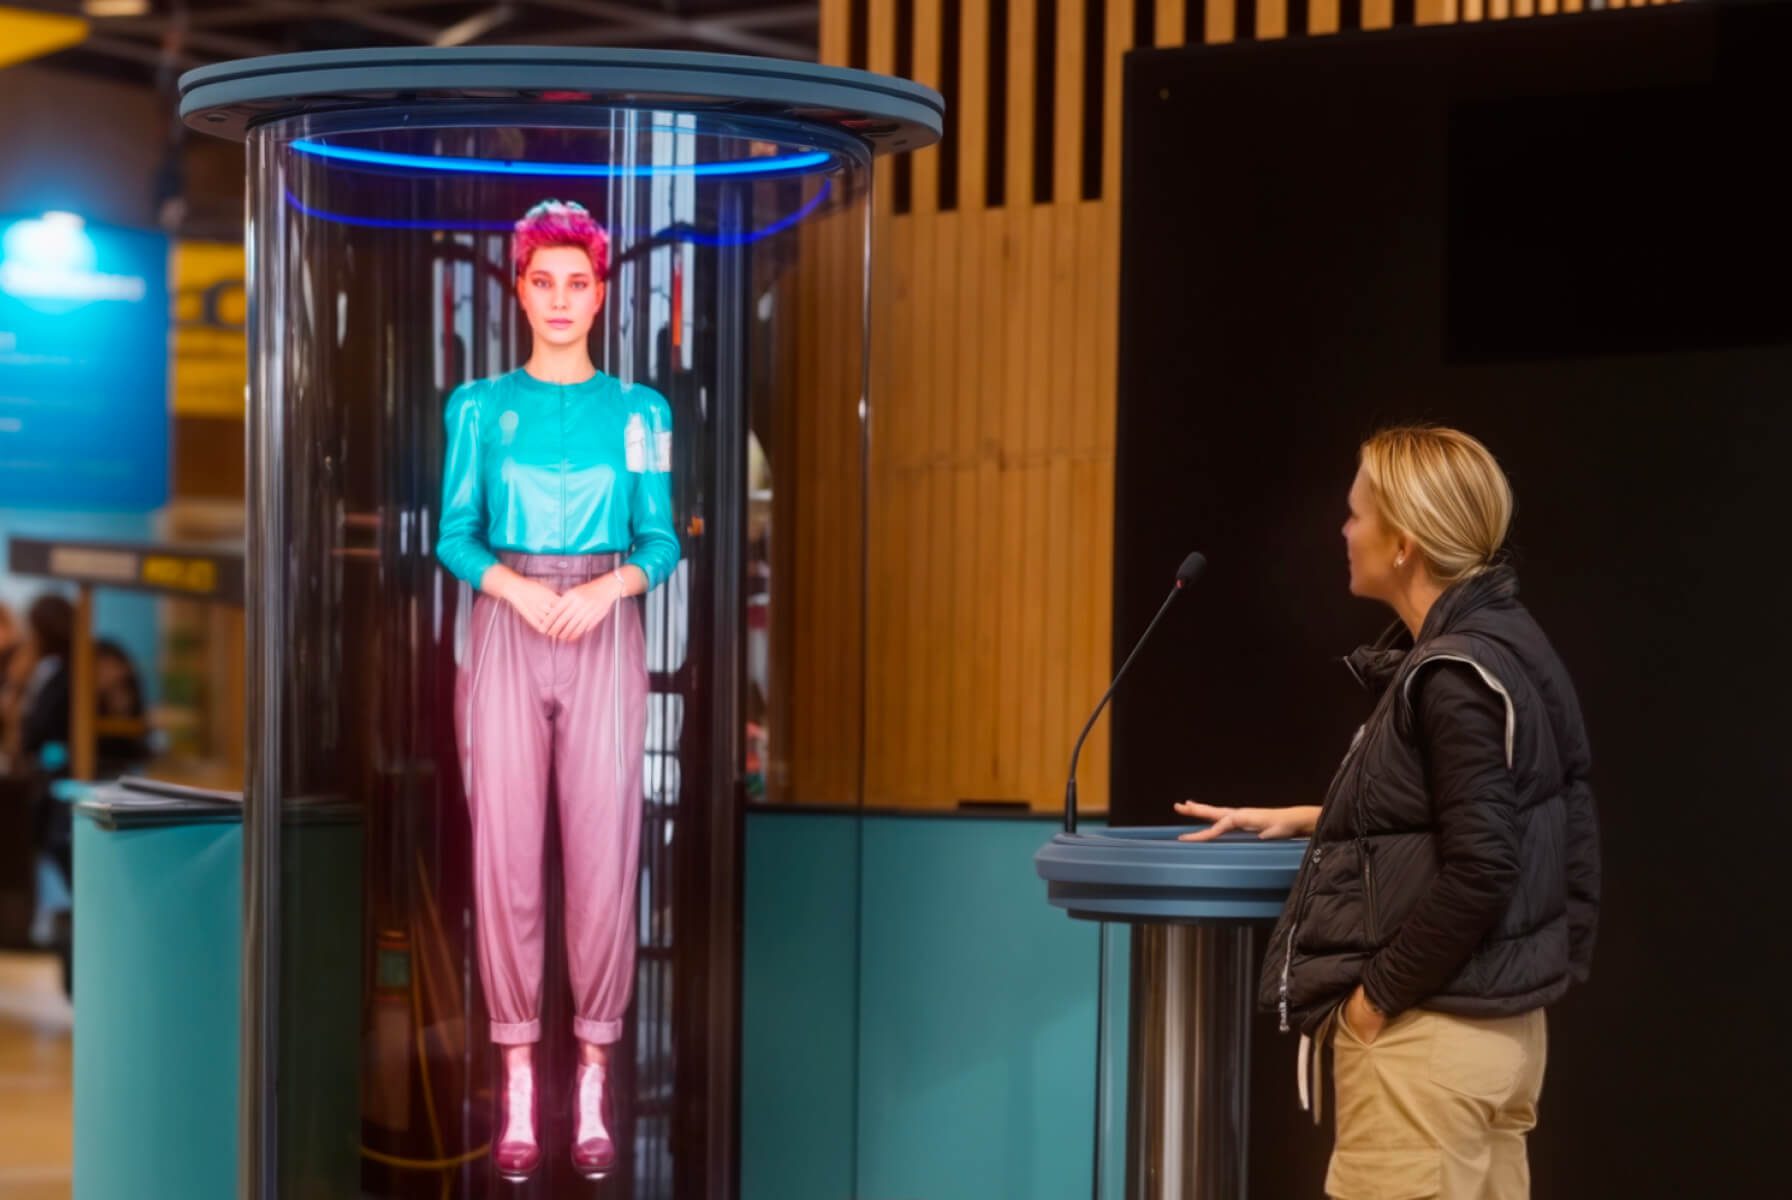
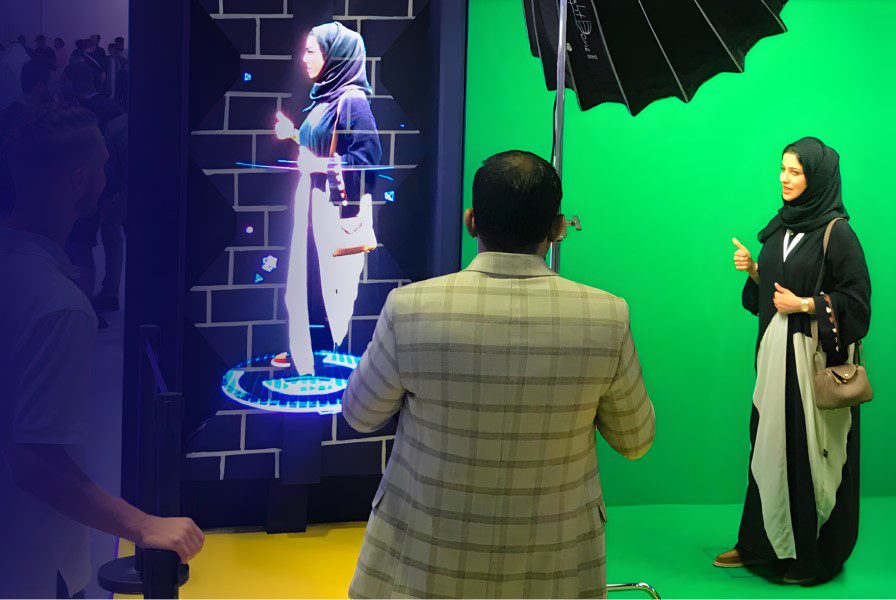
 HYPERVSN Digital Avatar
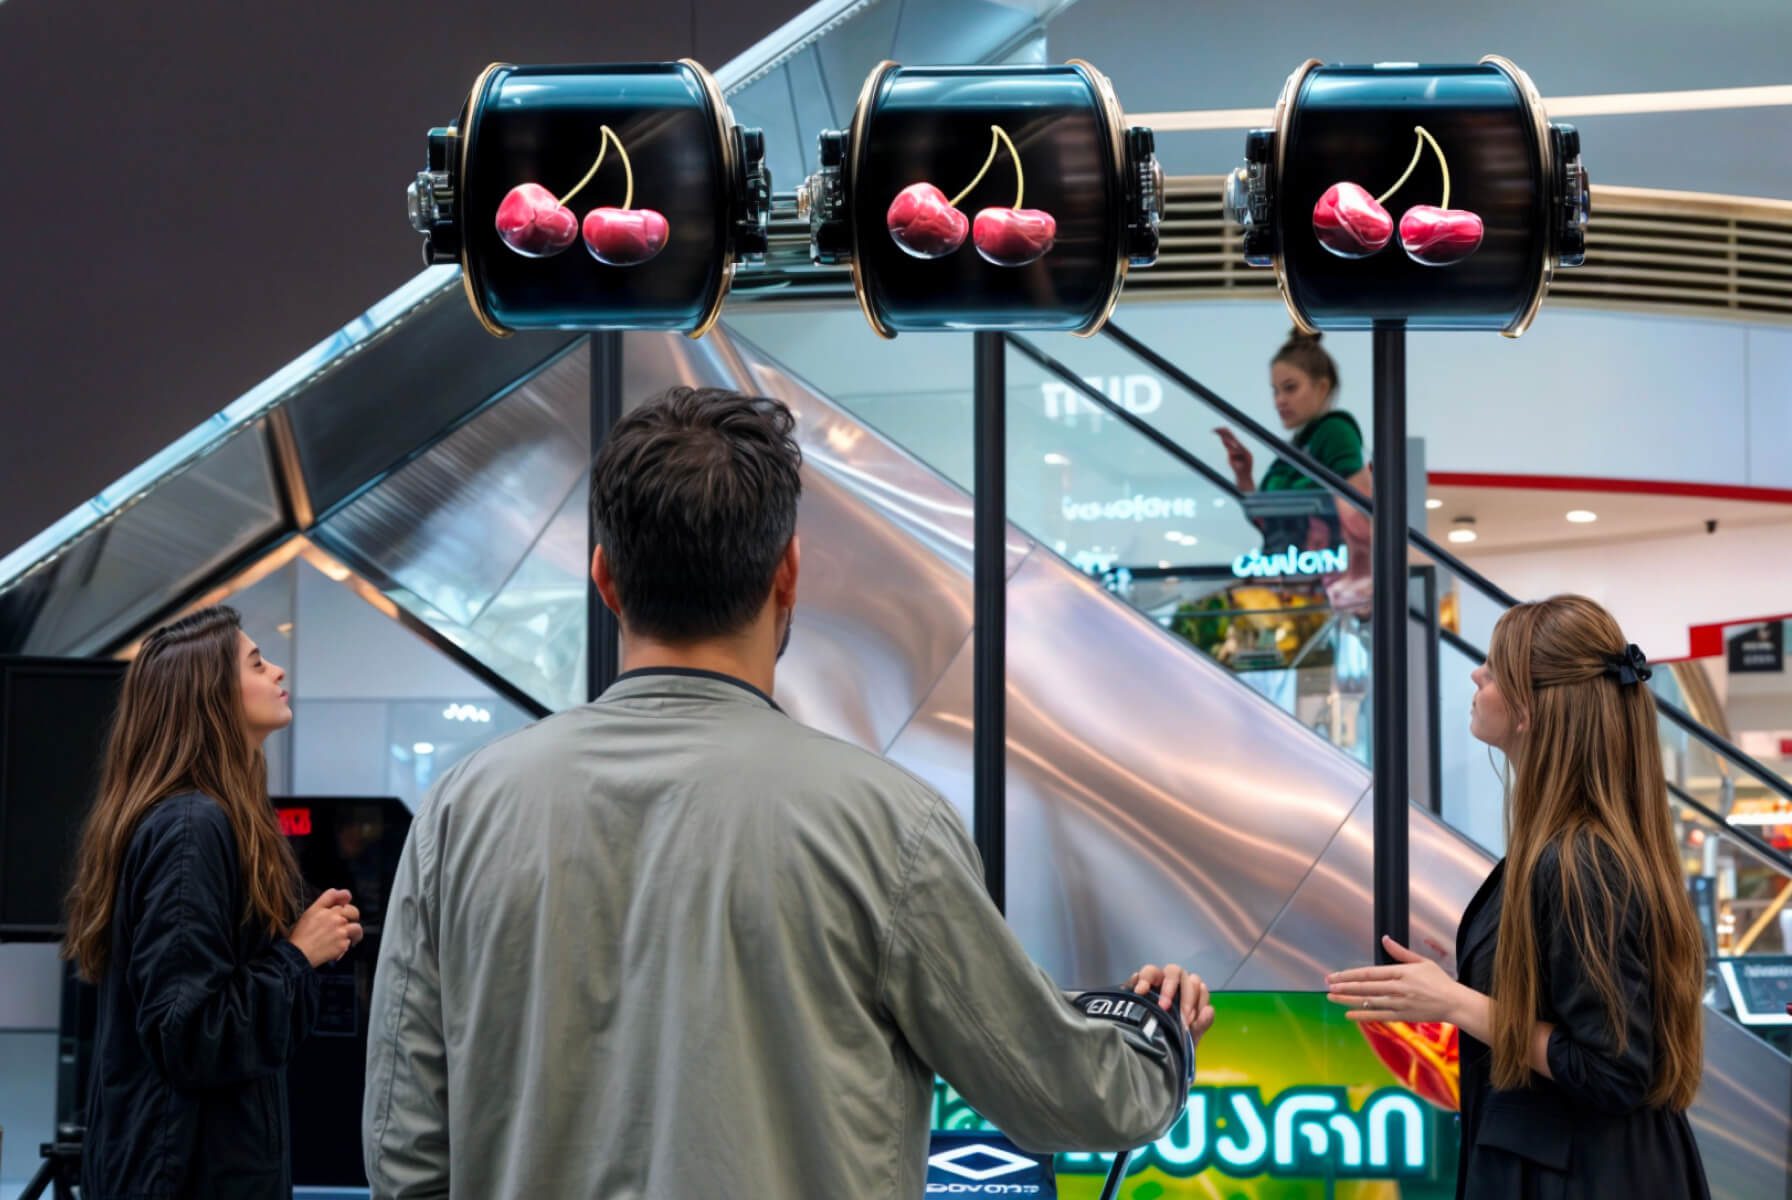
 HYPERVSN Slots
 HYPERVSN 3D Library
 HYPERVSN Holographic Human
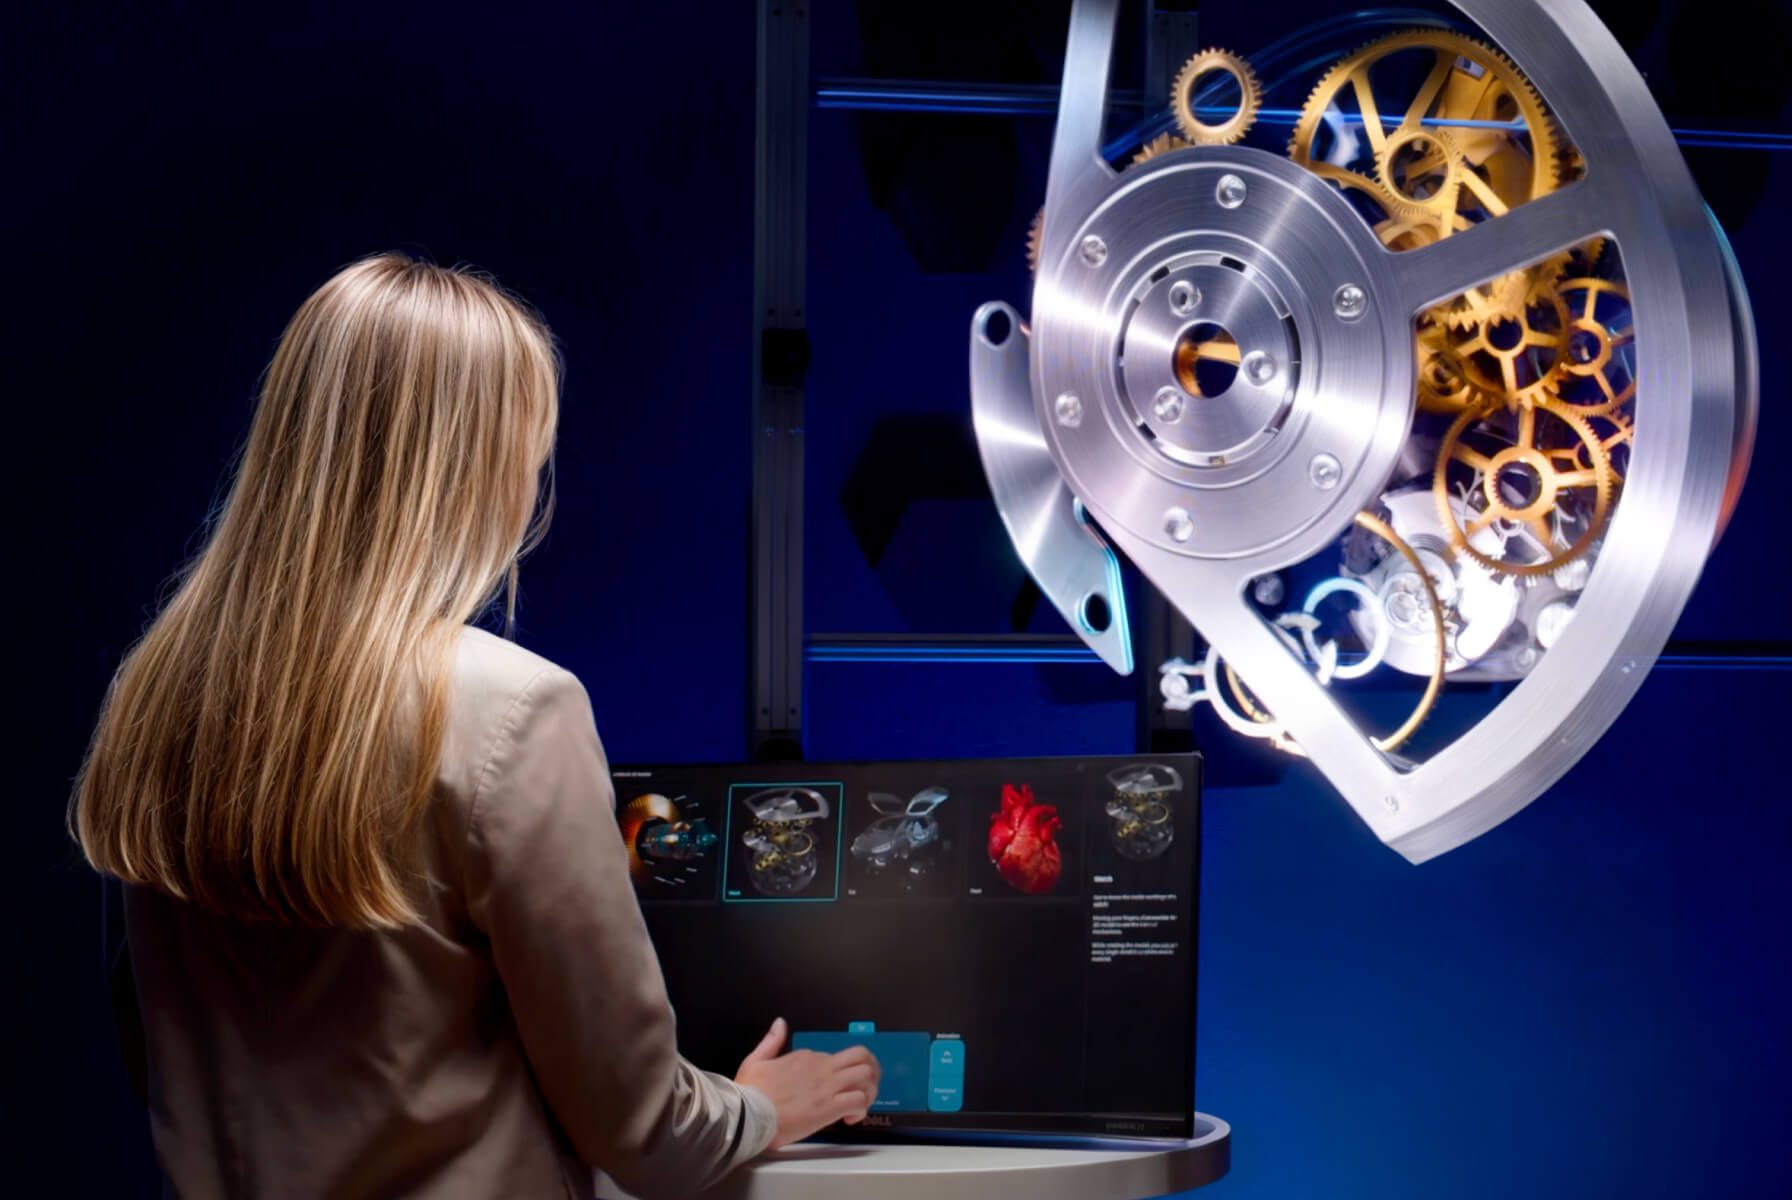
 HYPERVSN 3D Modeller
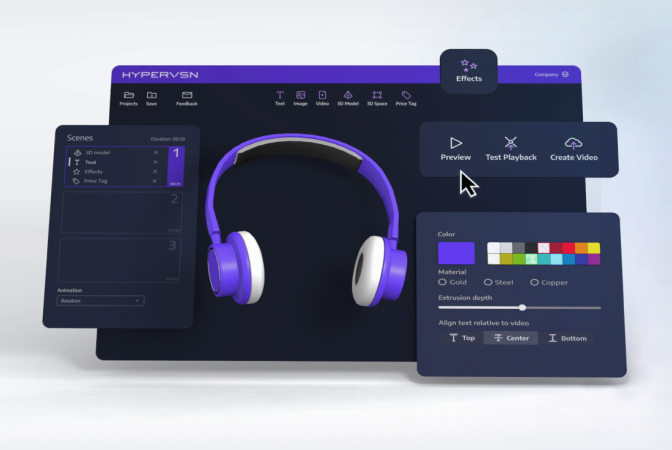
 HYPERVSN Live-Stream
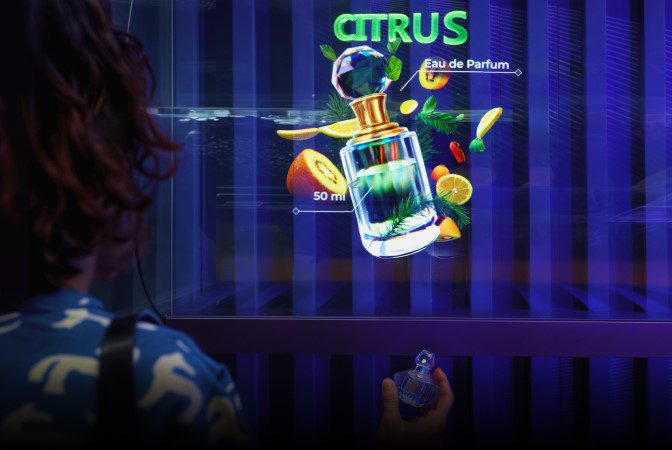
 HYPERVSN Prime
 HYPERVSN Holographic Truck
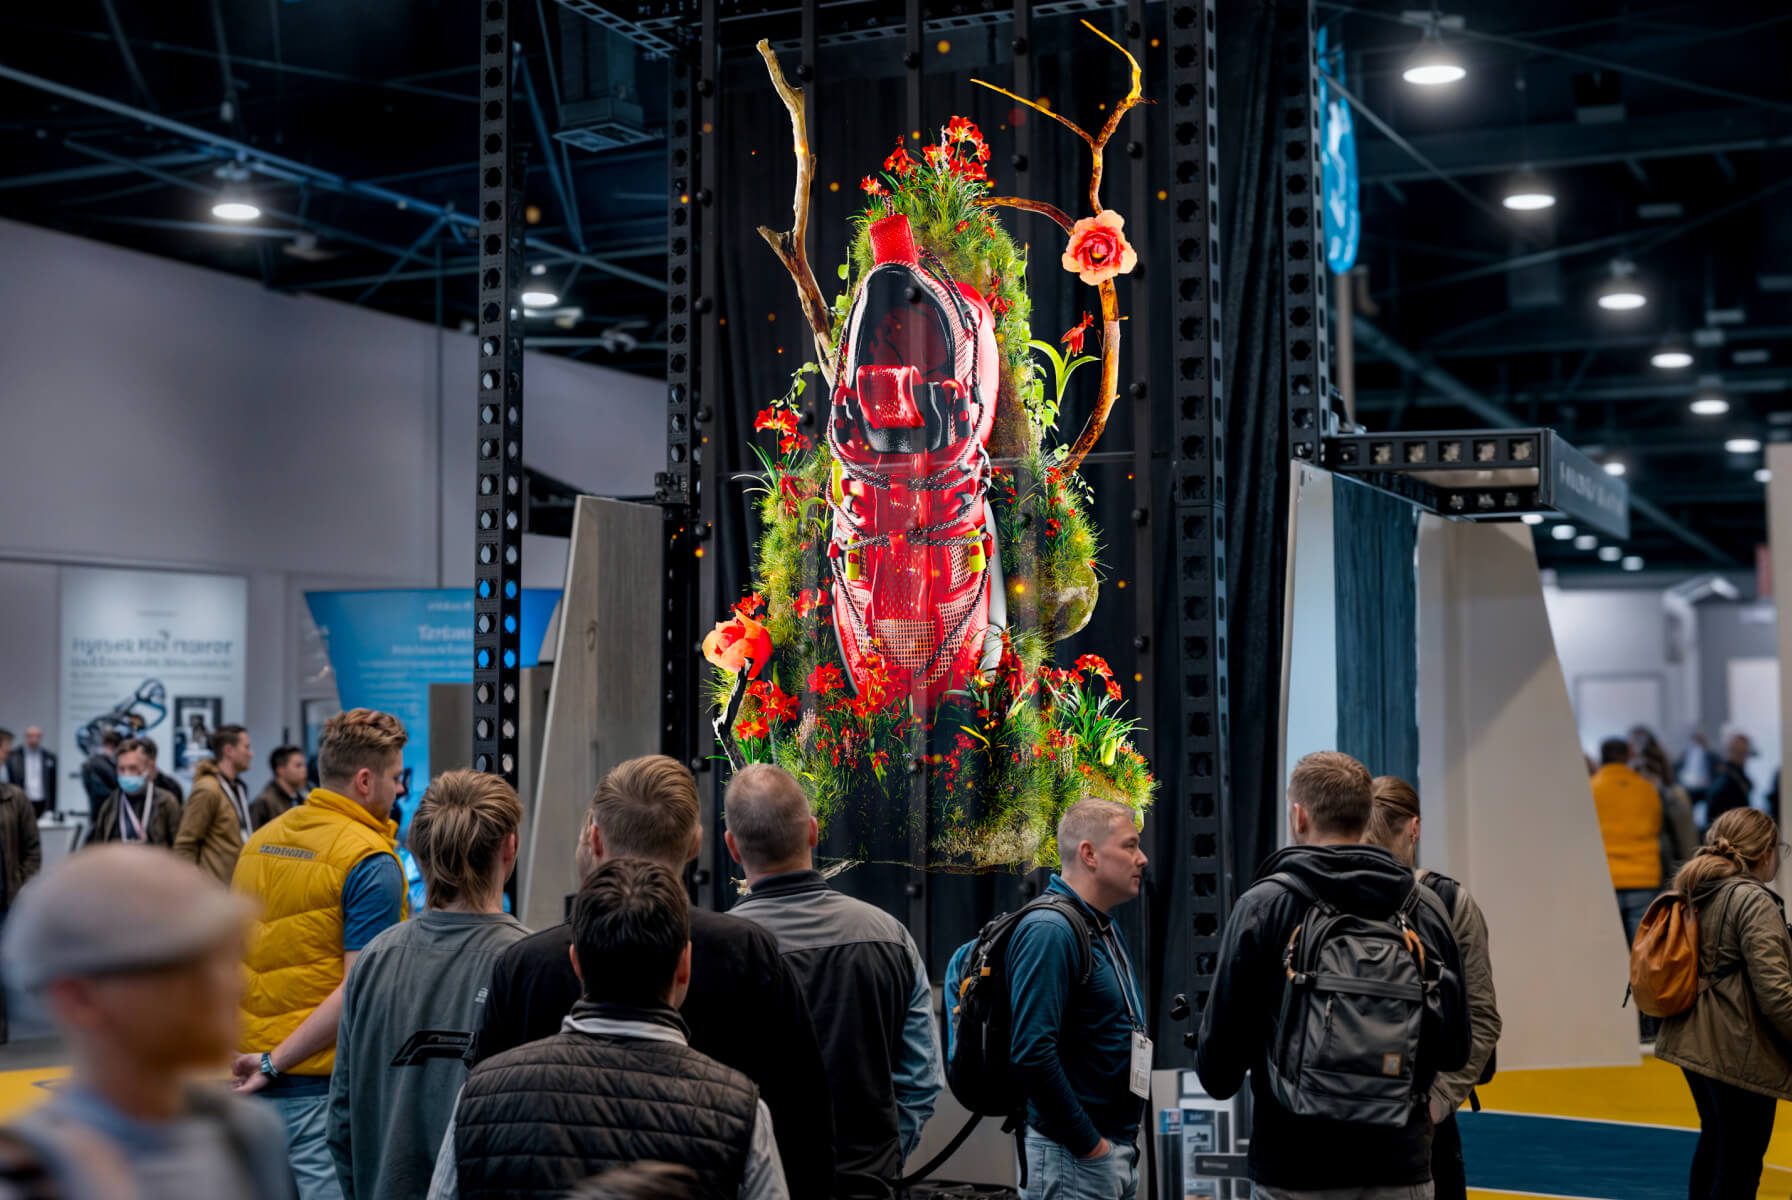
 HYPERVSN Lift & Learn


HYPERVSN 3D Catalog
USD 1,200
Qty
Remove Item
HYPERVSN 3D Catalog
USD 1,200
Qty
Remove Item
HYPERVSN 3D Catalog
USD 1,200
Qty
Remove Item
Cart Subtotal:
USD 3,600