


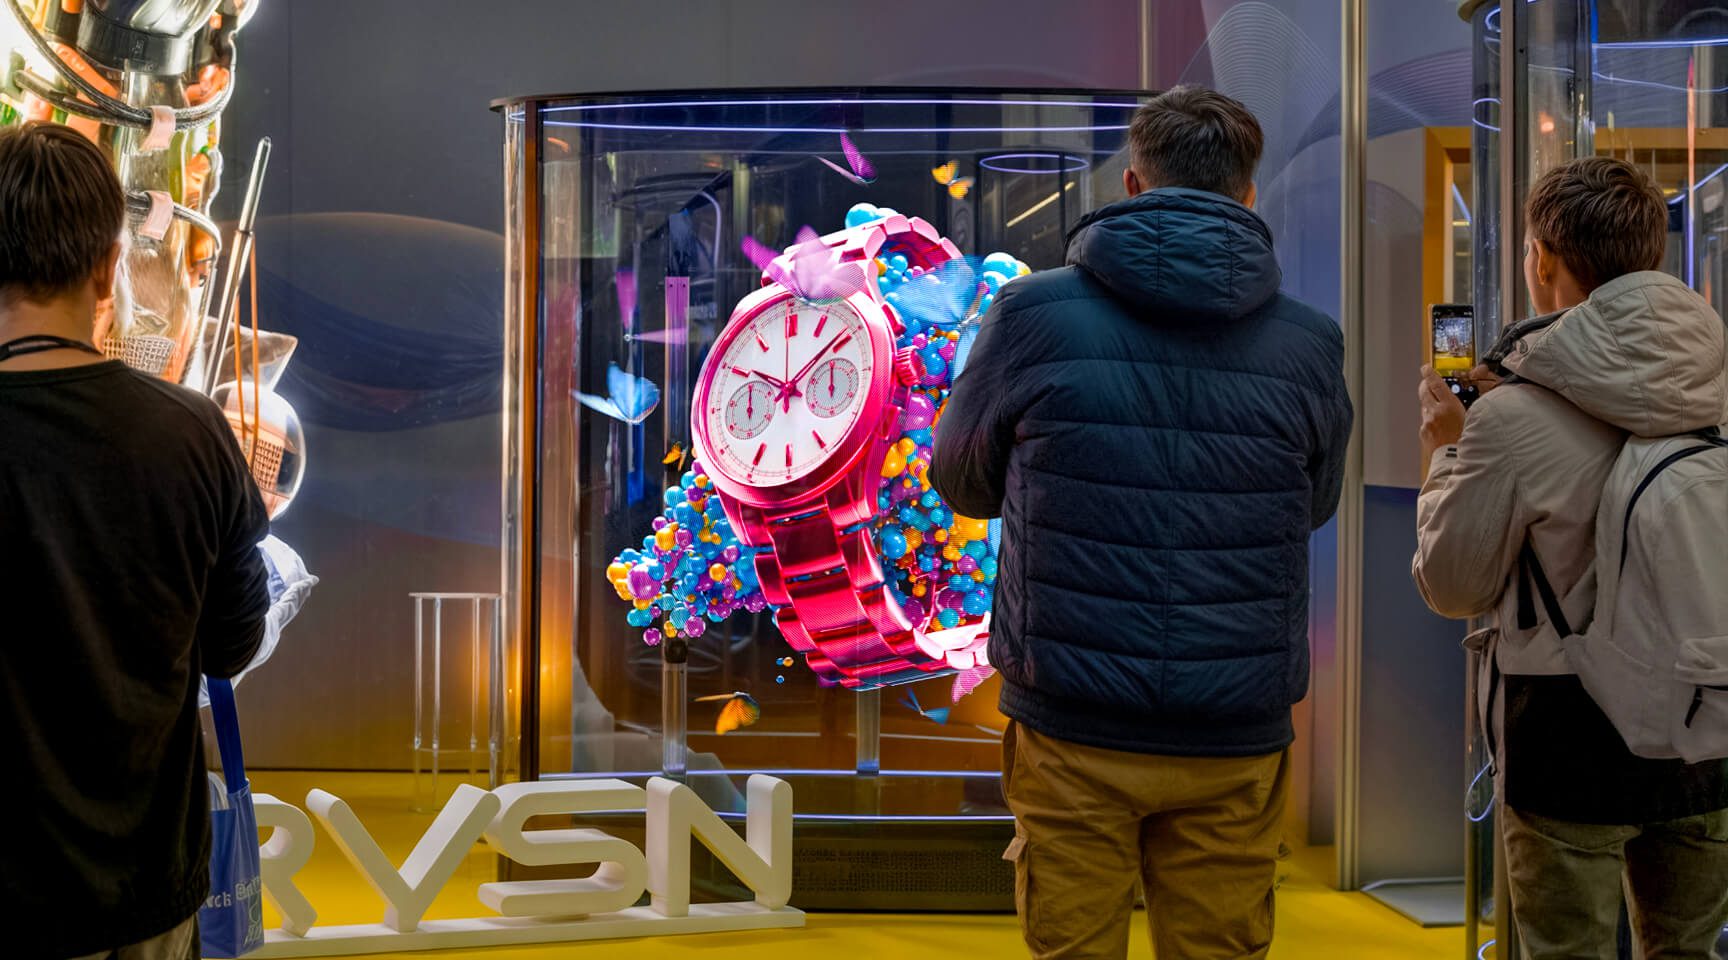


 HYPERVSN SmartV Solo
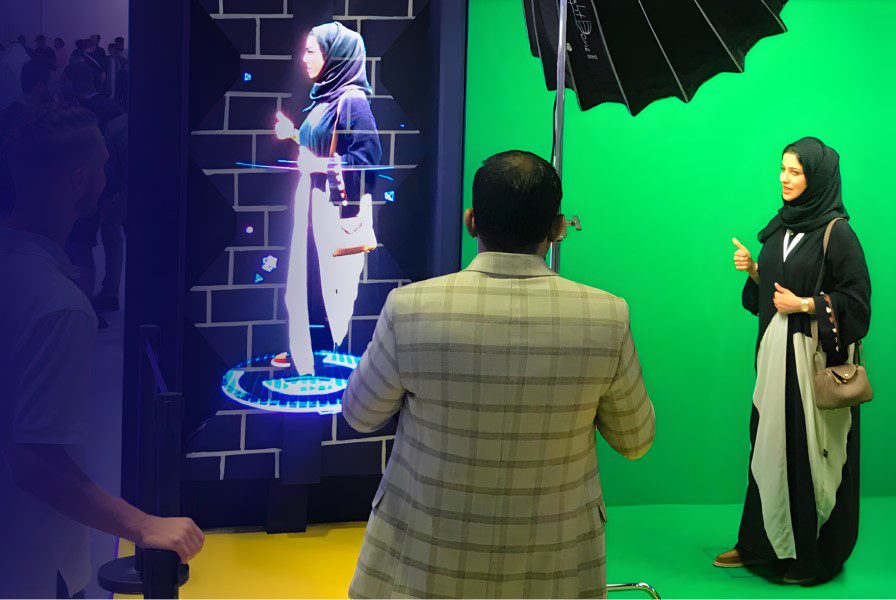
 HYPERVSN Digital Avatar
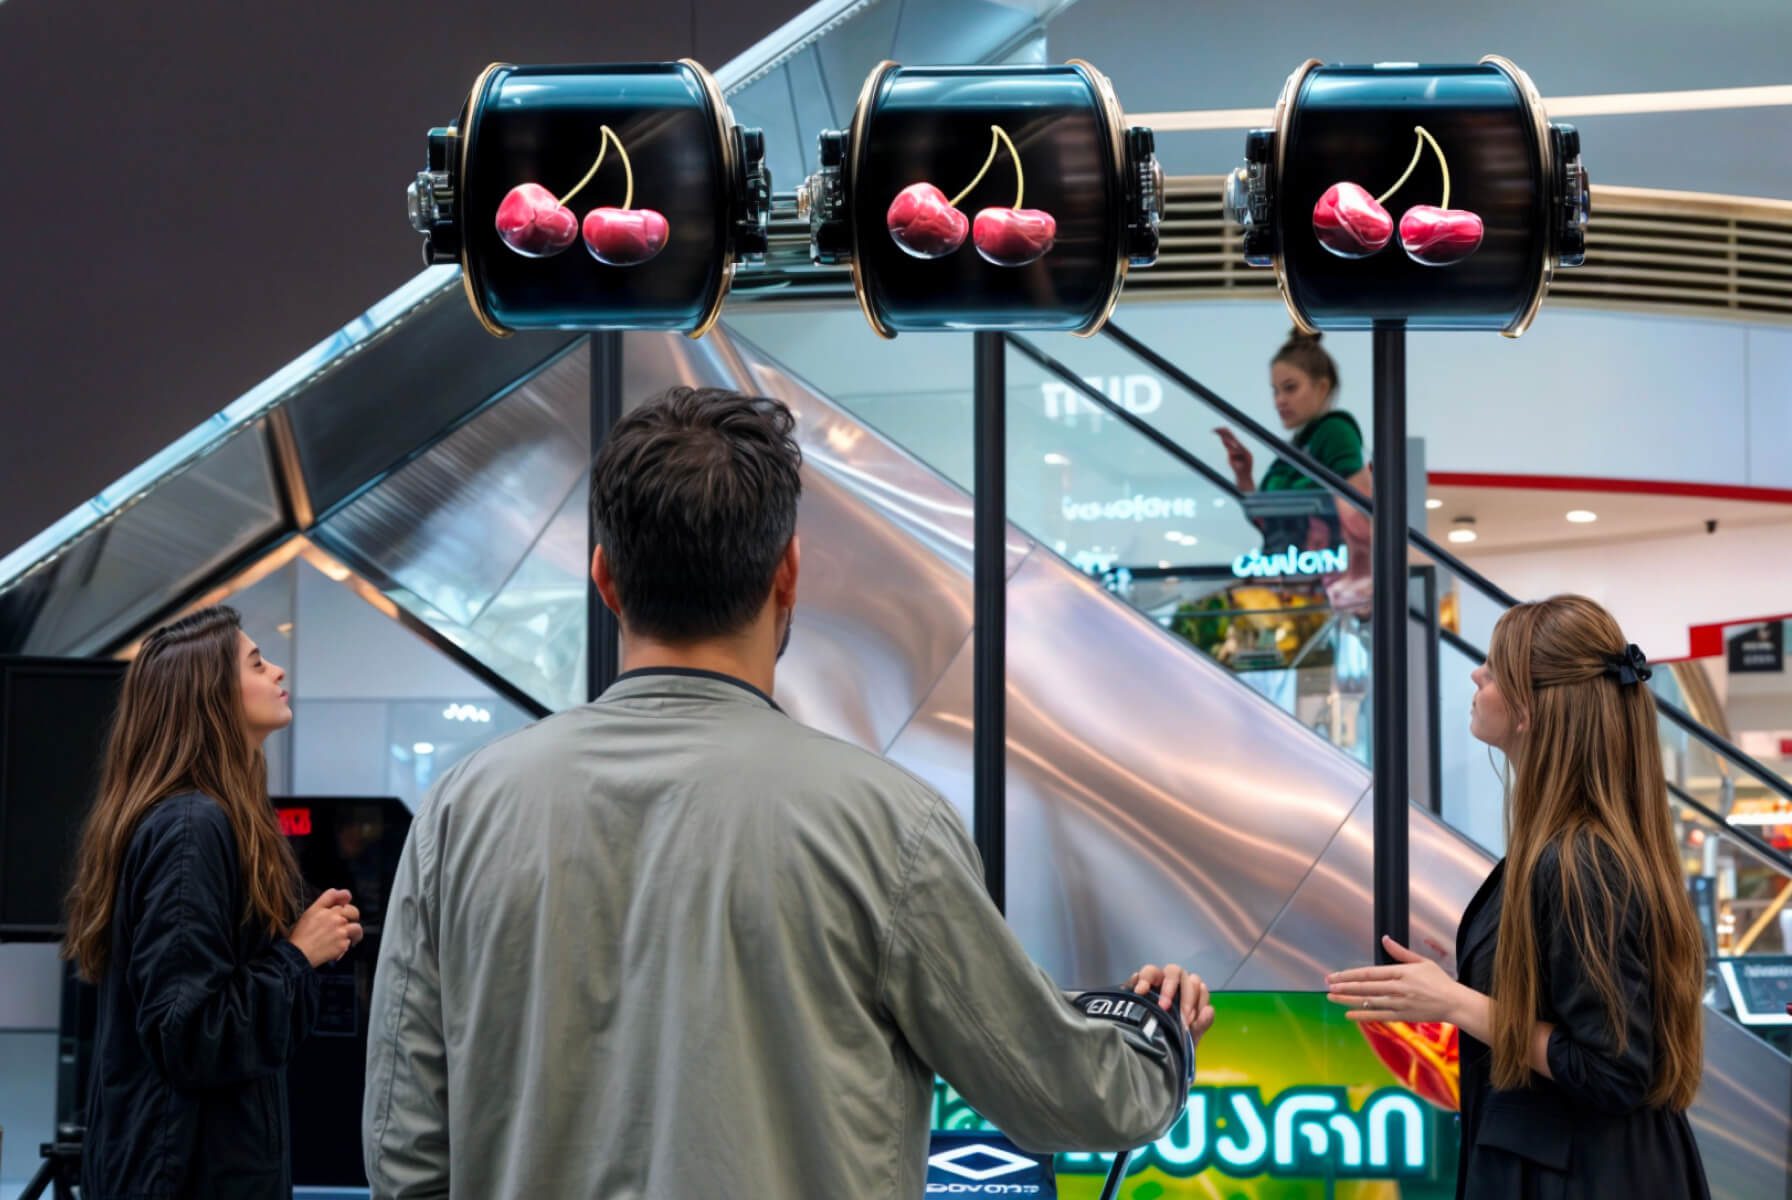
 HYPERVSN Slots
 HYPERVSN 3D Library
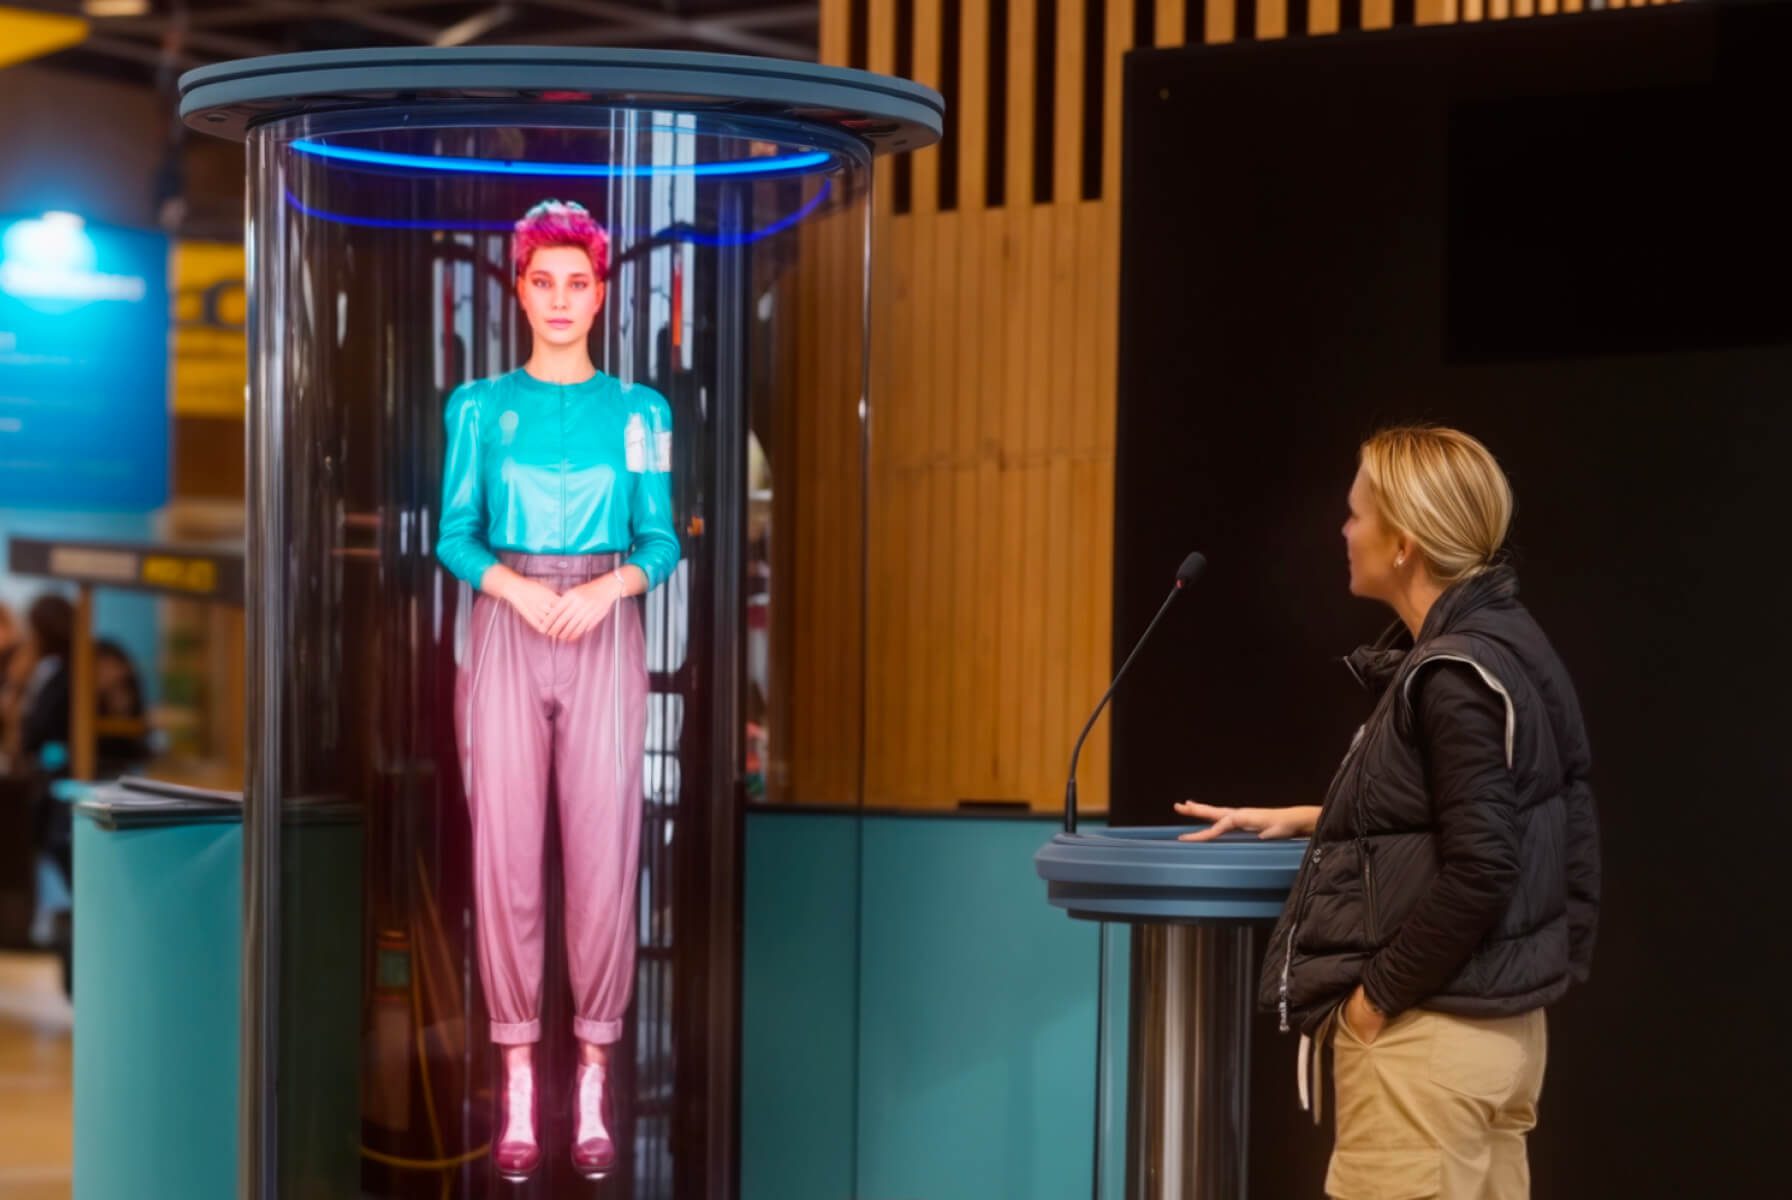
 HYPERVSN Holographic Human
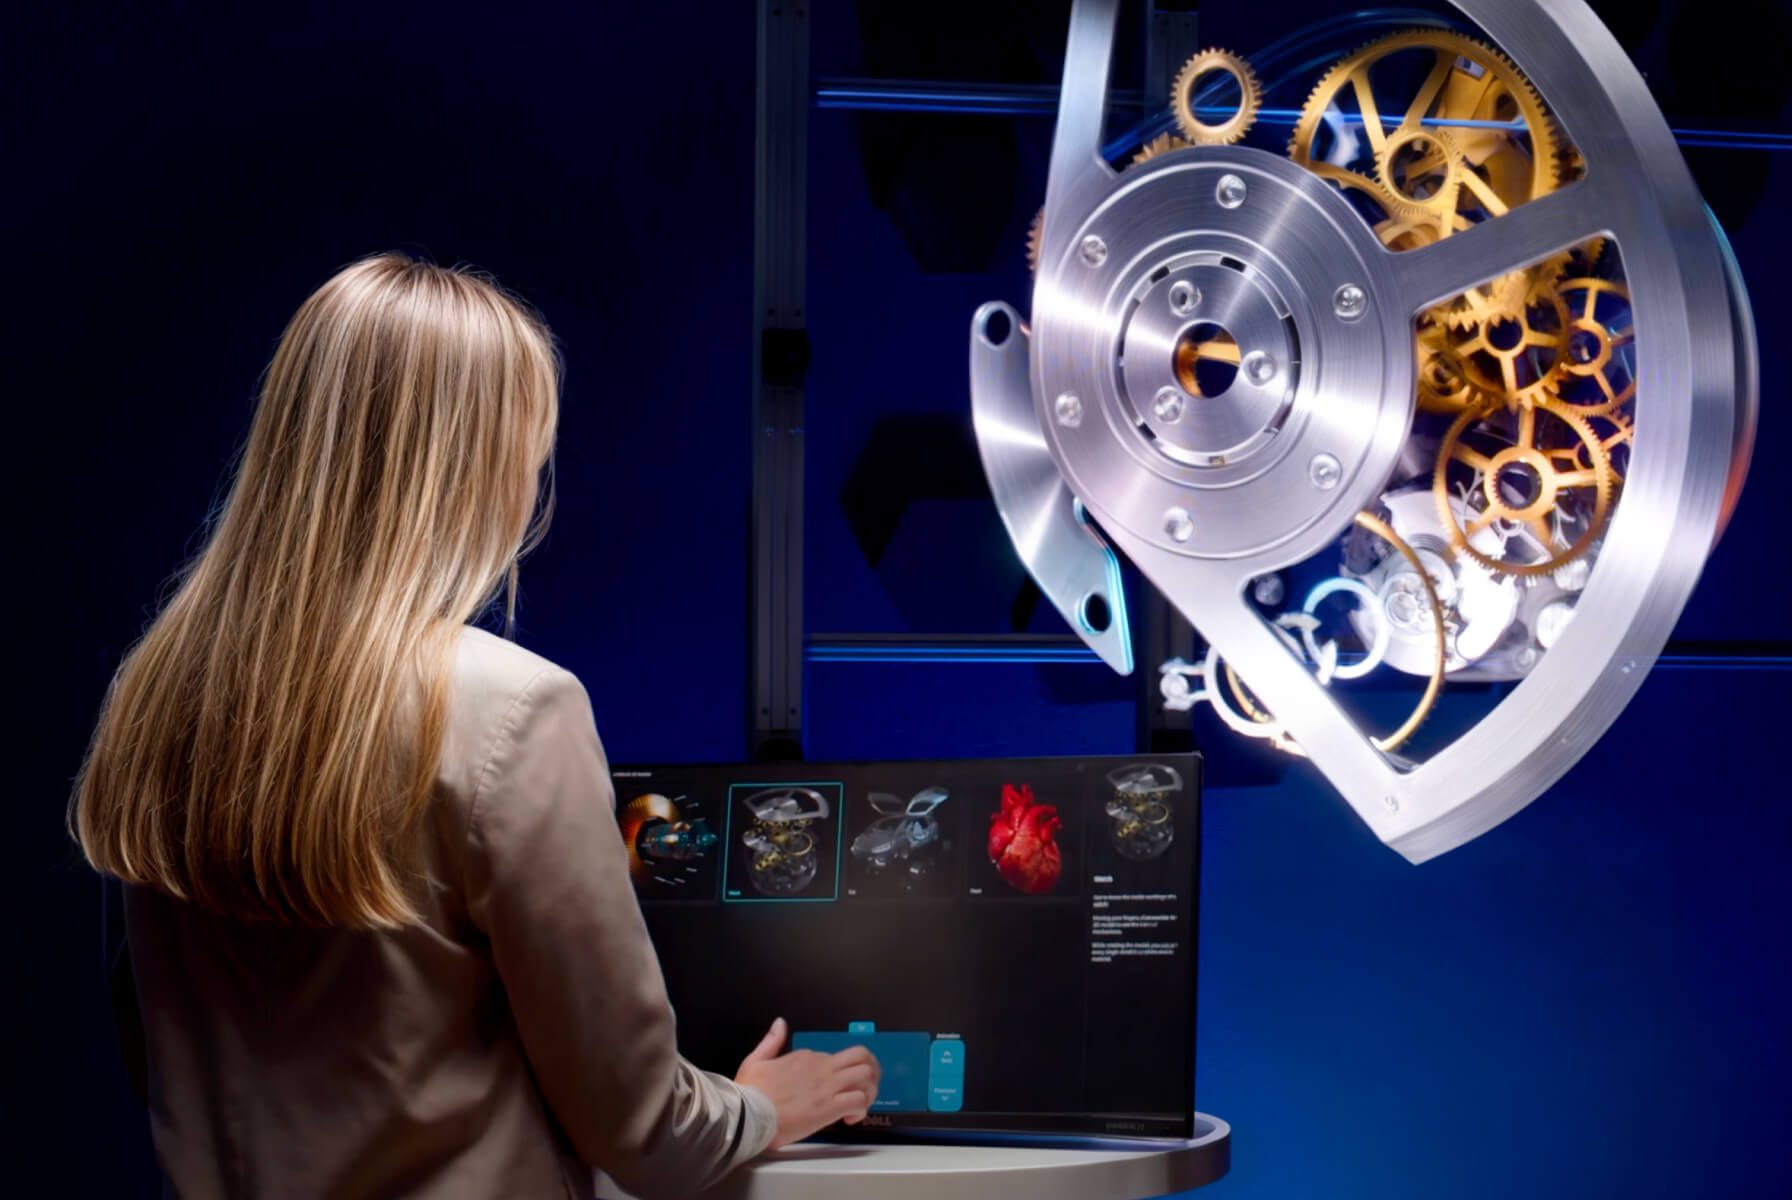
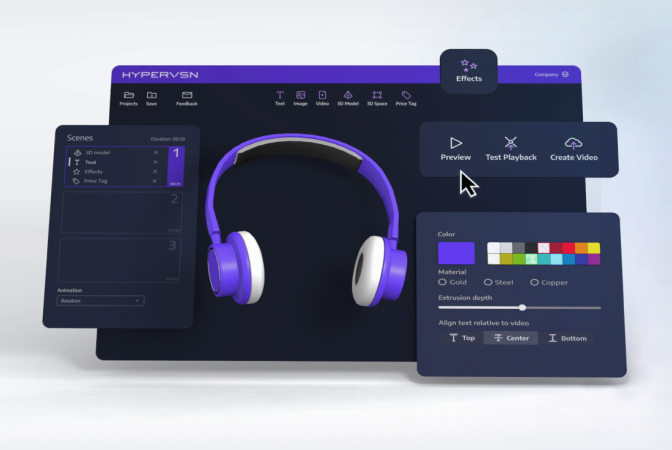
 HYPERVSN 3D Modeller
 HYPERVSN Live-Stream
 HYPERVSN Prime
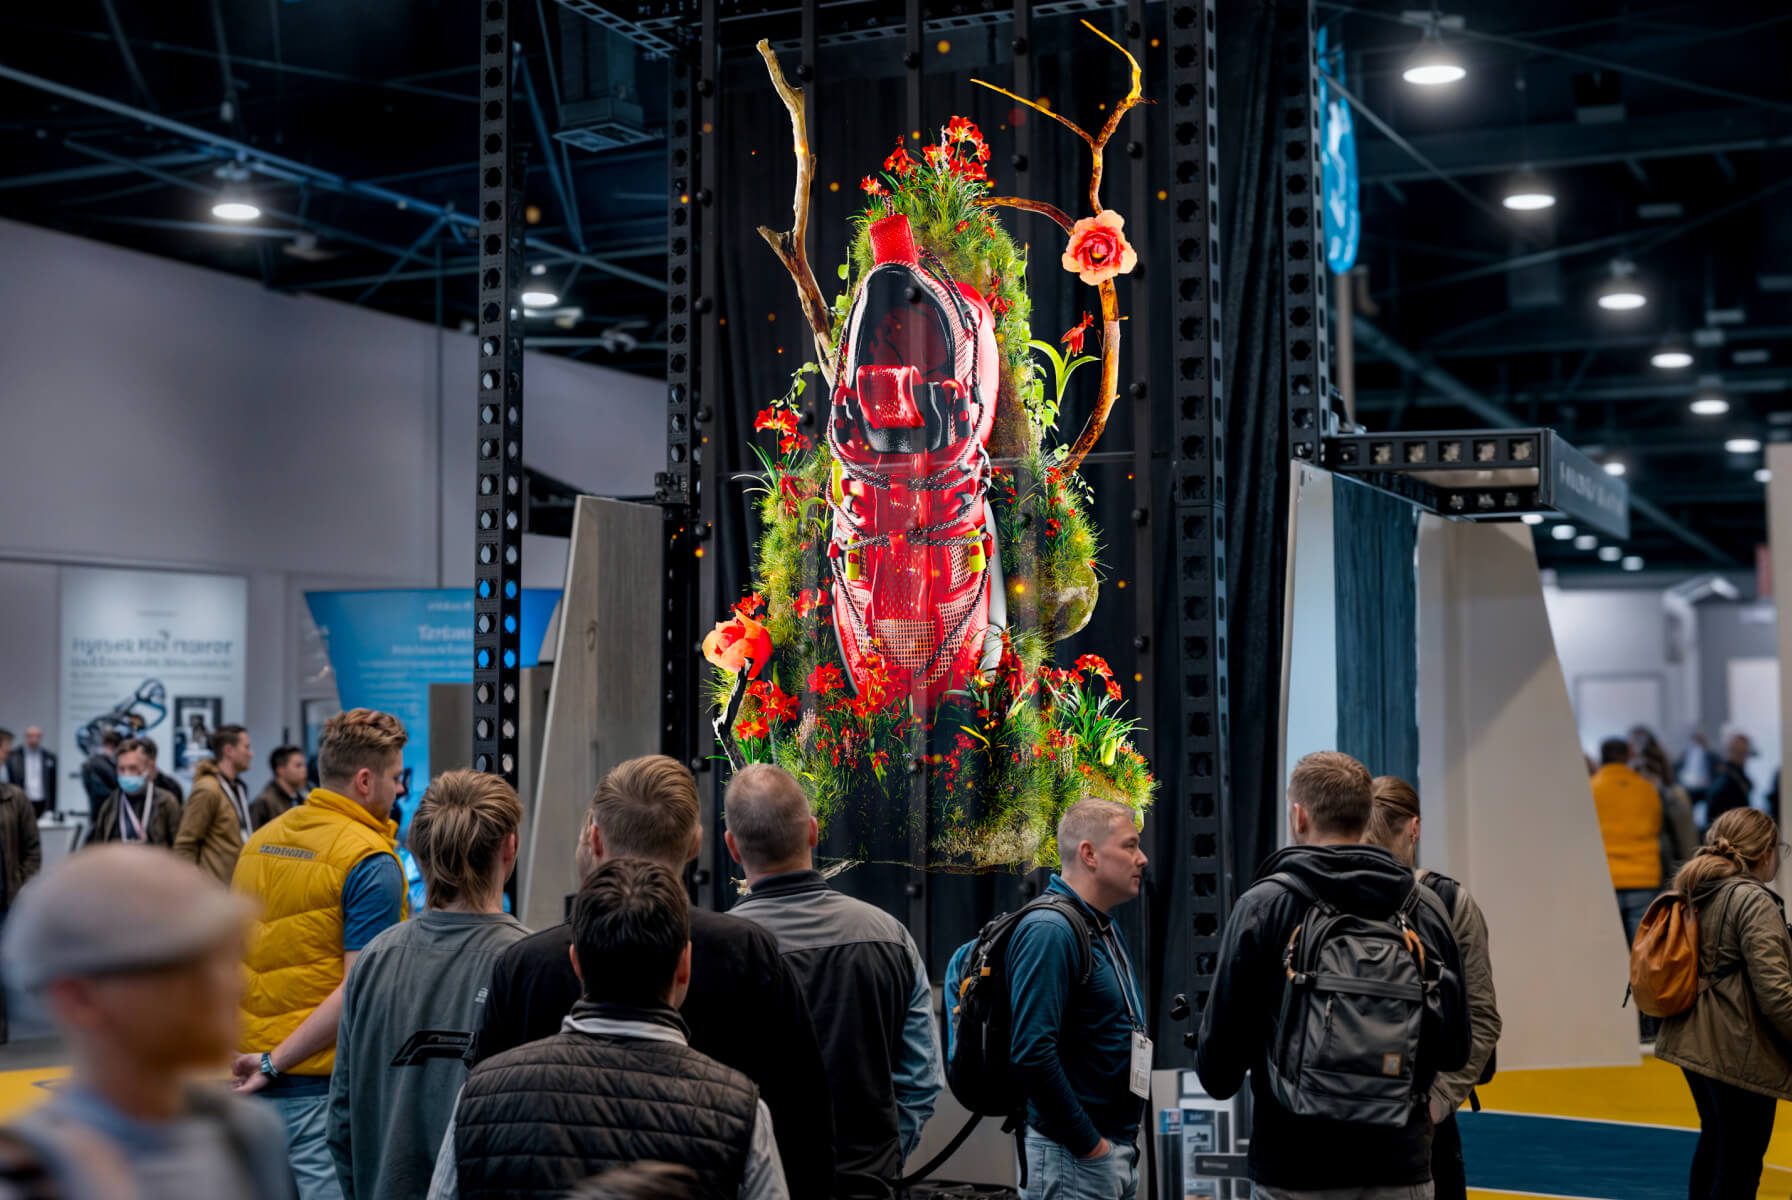
 HYPERVSN Holographic Truck
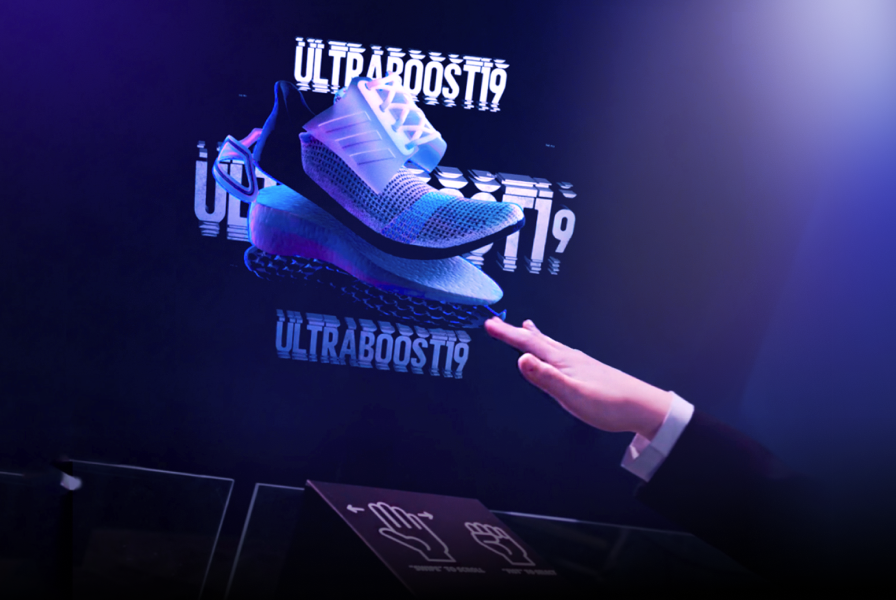
 HYPERVSN Lift & Learn
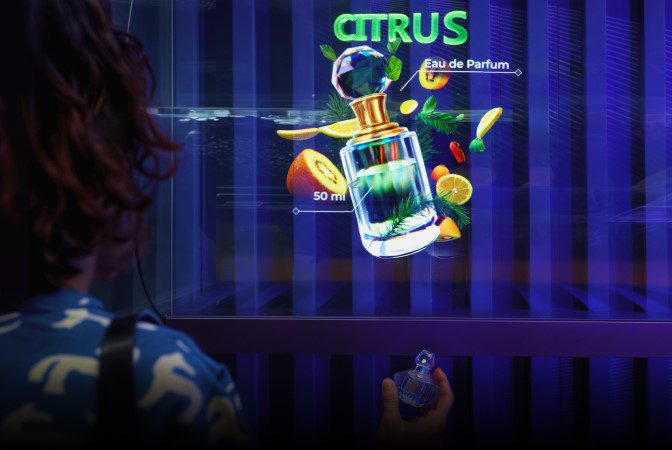


HYPERVSN 3D Catalog
USD 1,200
Qty
Remove Item
HYPERVSN 3D Catalog
USD 1,200
Qty
Remove Item
HYPERVSN 3D Catalog
USD 1,200
Qty
Remove Item
Cart Subtotal:
USD 3,600
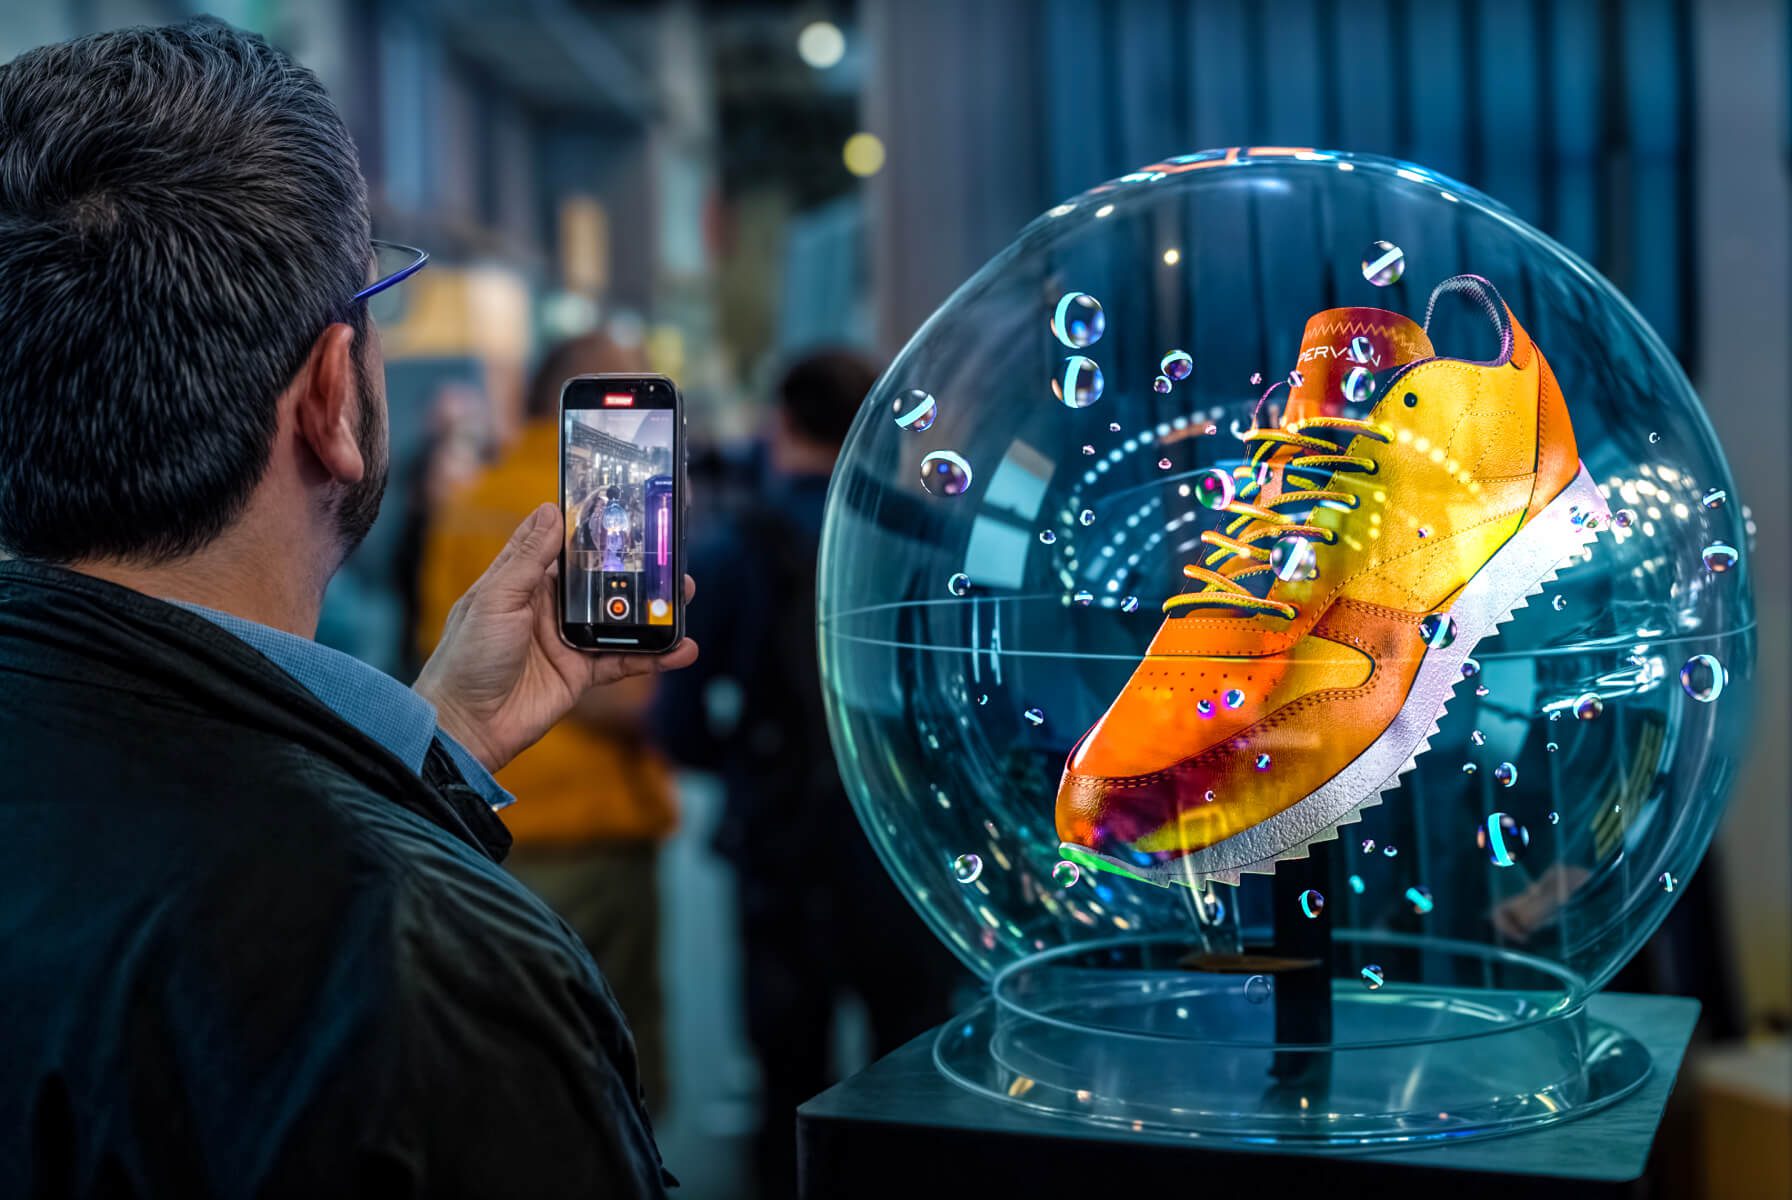
HYPERVSN SmartV Lift & Learn is an interactive automation solution that controls holographic SmartV Displays using external triggers, such as sensors. It is designed to provide users with high-resolution 3D holographic information about a physical product while they are engaged in real-time haptic interaction with it.
The solution functions by linking physical movements of a product to specific digital content:
● Pick-up action: When a customer picks up a product, related holographic content immediately appears on the SmartV Display.
● Place-back action: The content can be switched or reset to a default state when the customer places the product back in its original position.