


 HYPERVSN SmartV Solo
 HYPERVSN Digital Avatar
 HYPERVSN Slots
 HYPERVSN 3D Library
 HYPERVSN Holographic Human
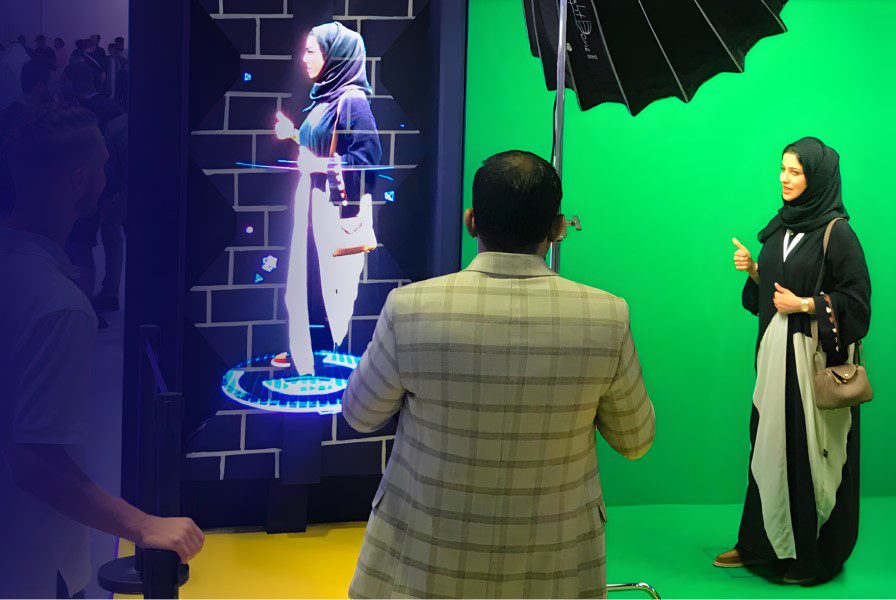


HYPERVSN 3D Catalog
USD 1,200
Qty
Remove Item
HYPERVSN 3D Catalog
USD 1,200
Qty
Remove Item
HYPERVSN 3D Catalog
USD 1,200
Qty
Remove Item
Cart Subtotal:
USD 3,600
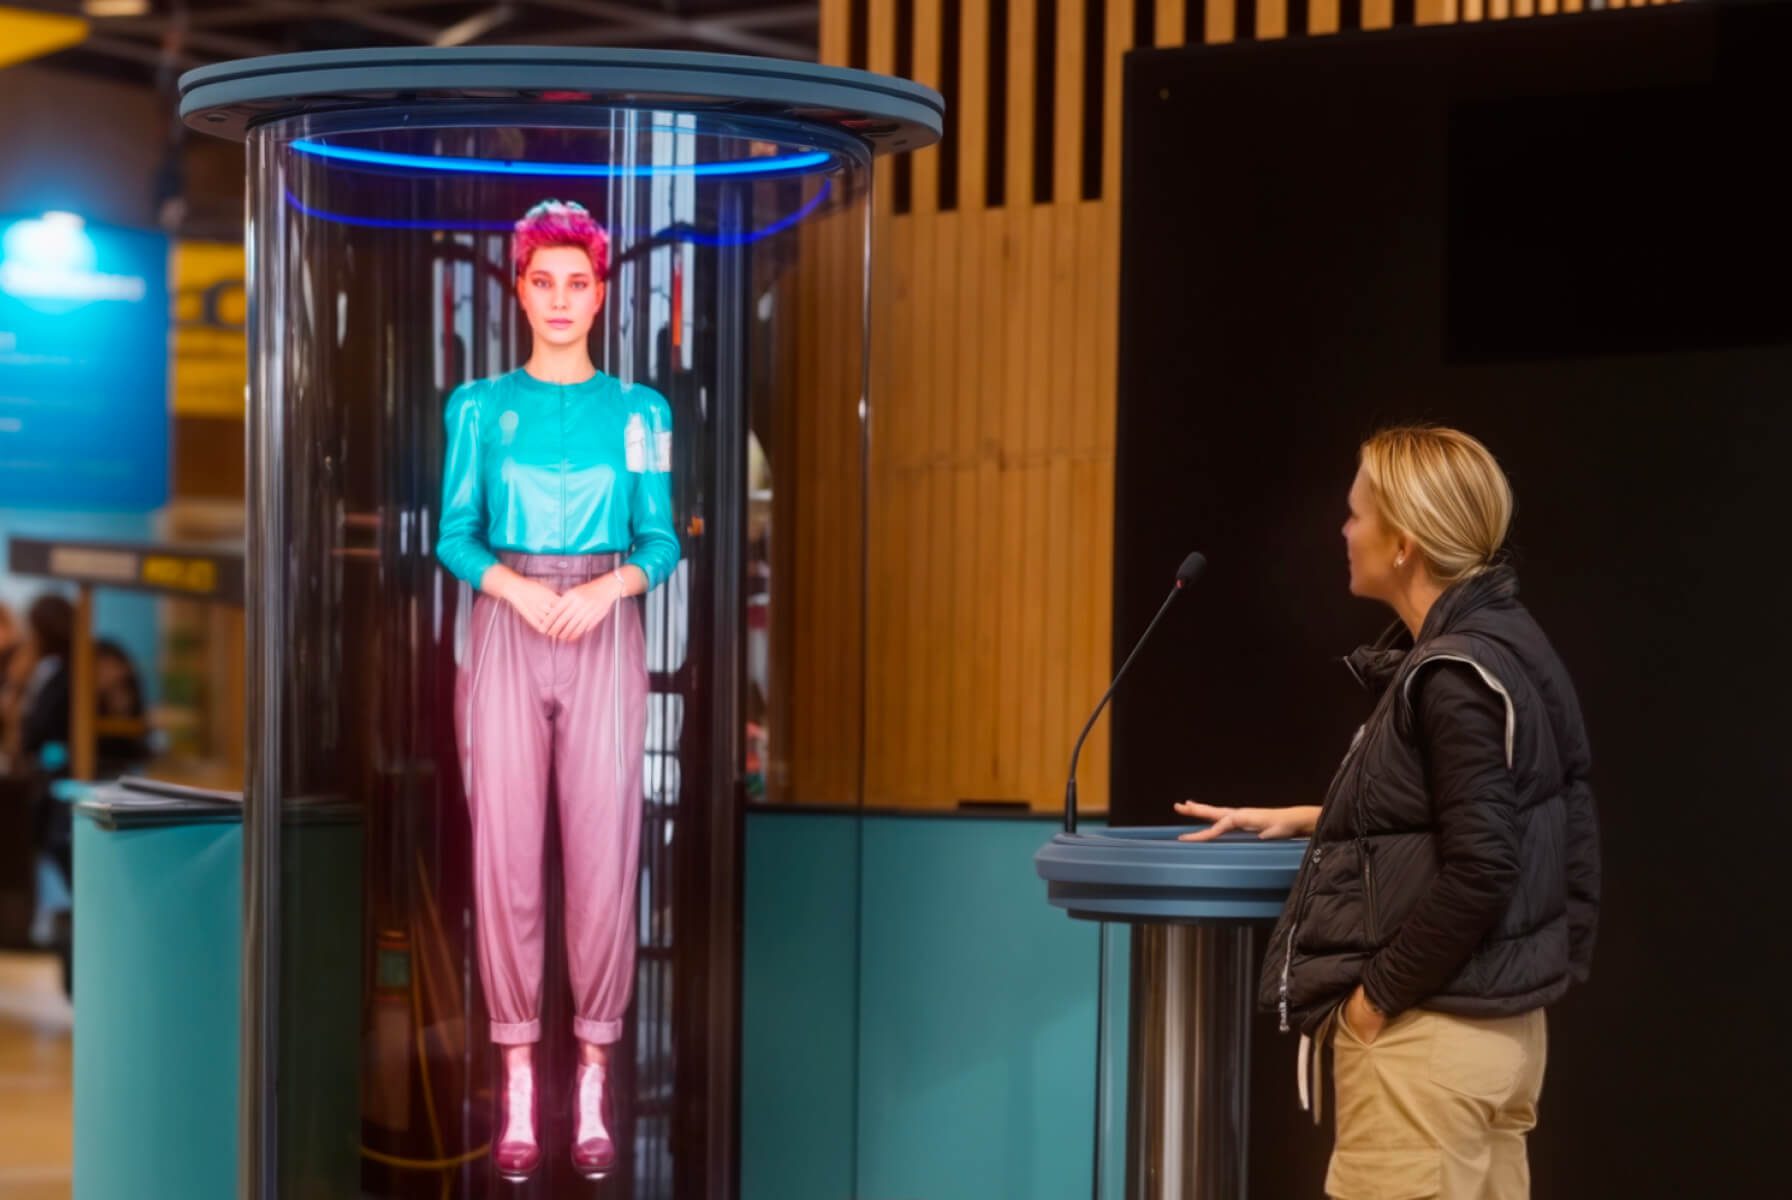
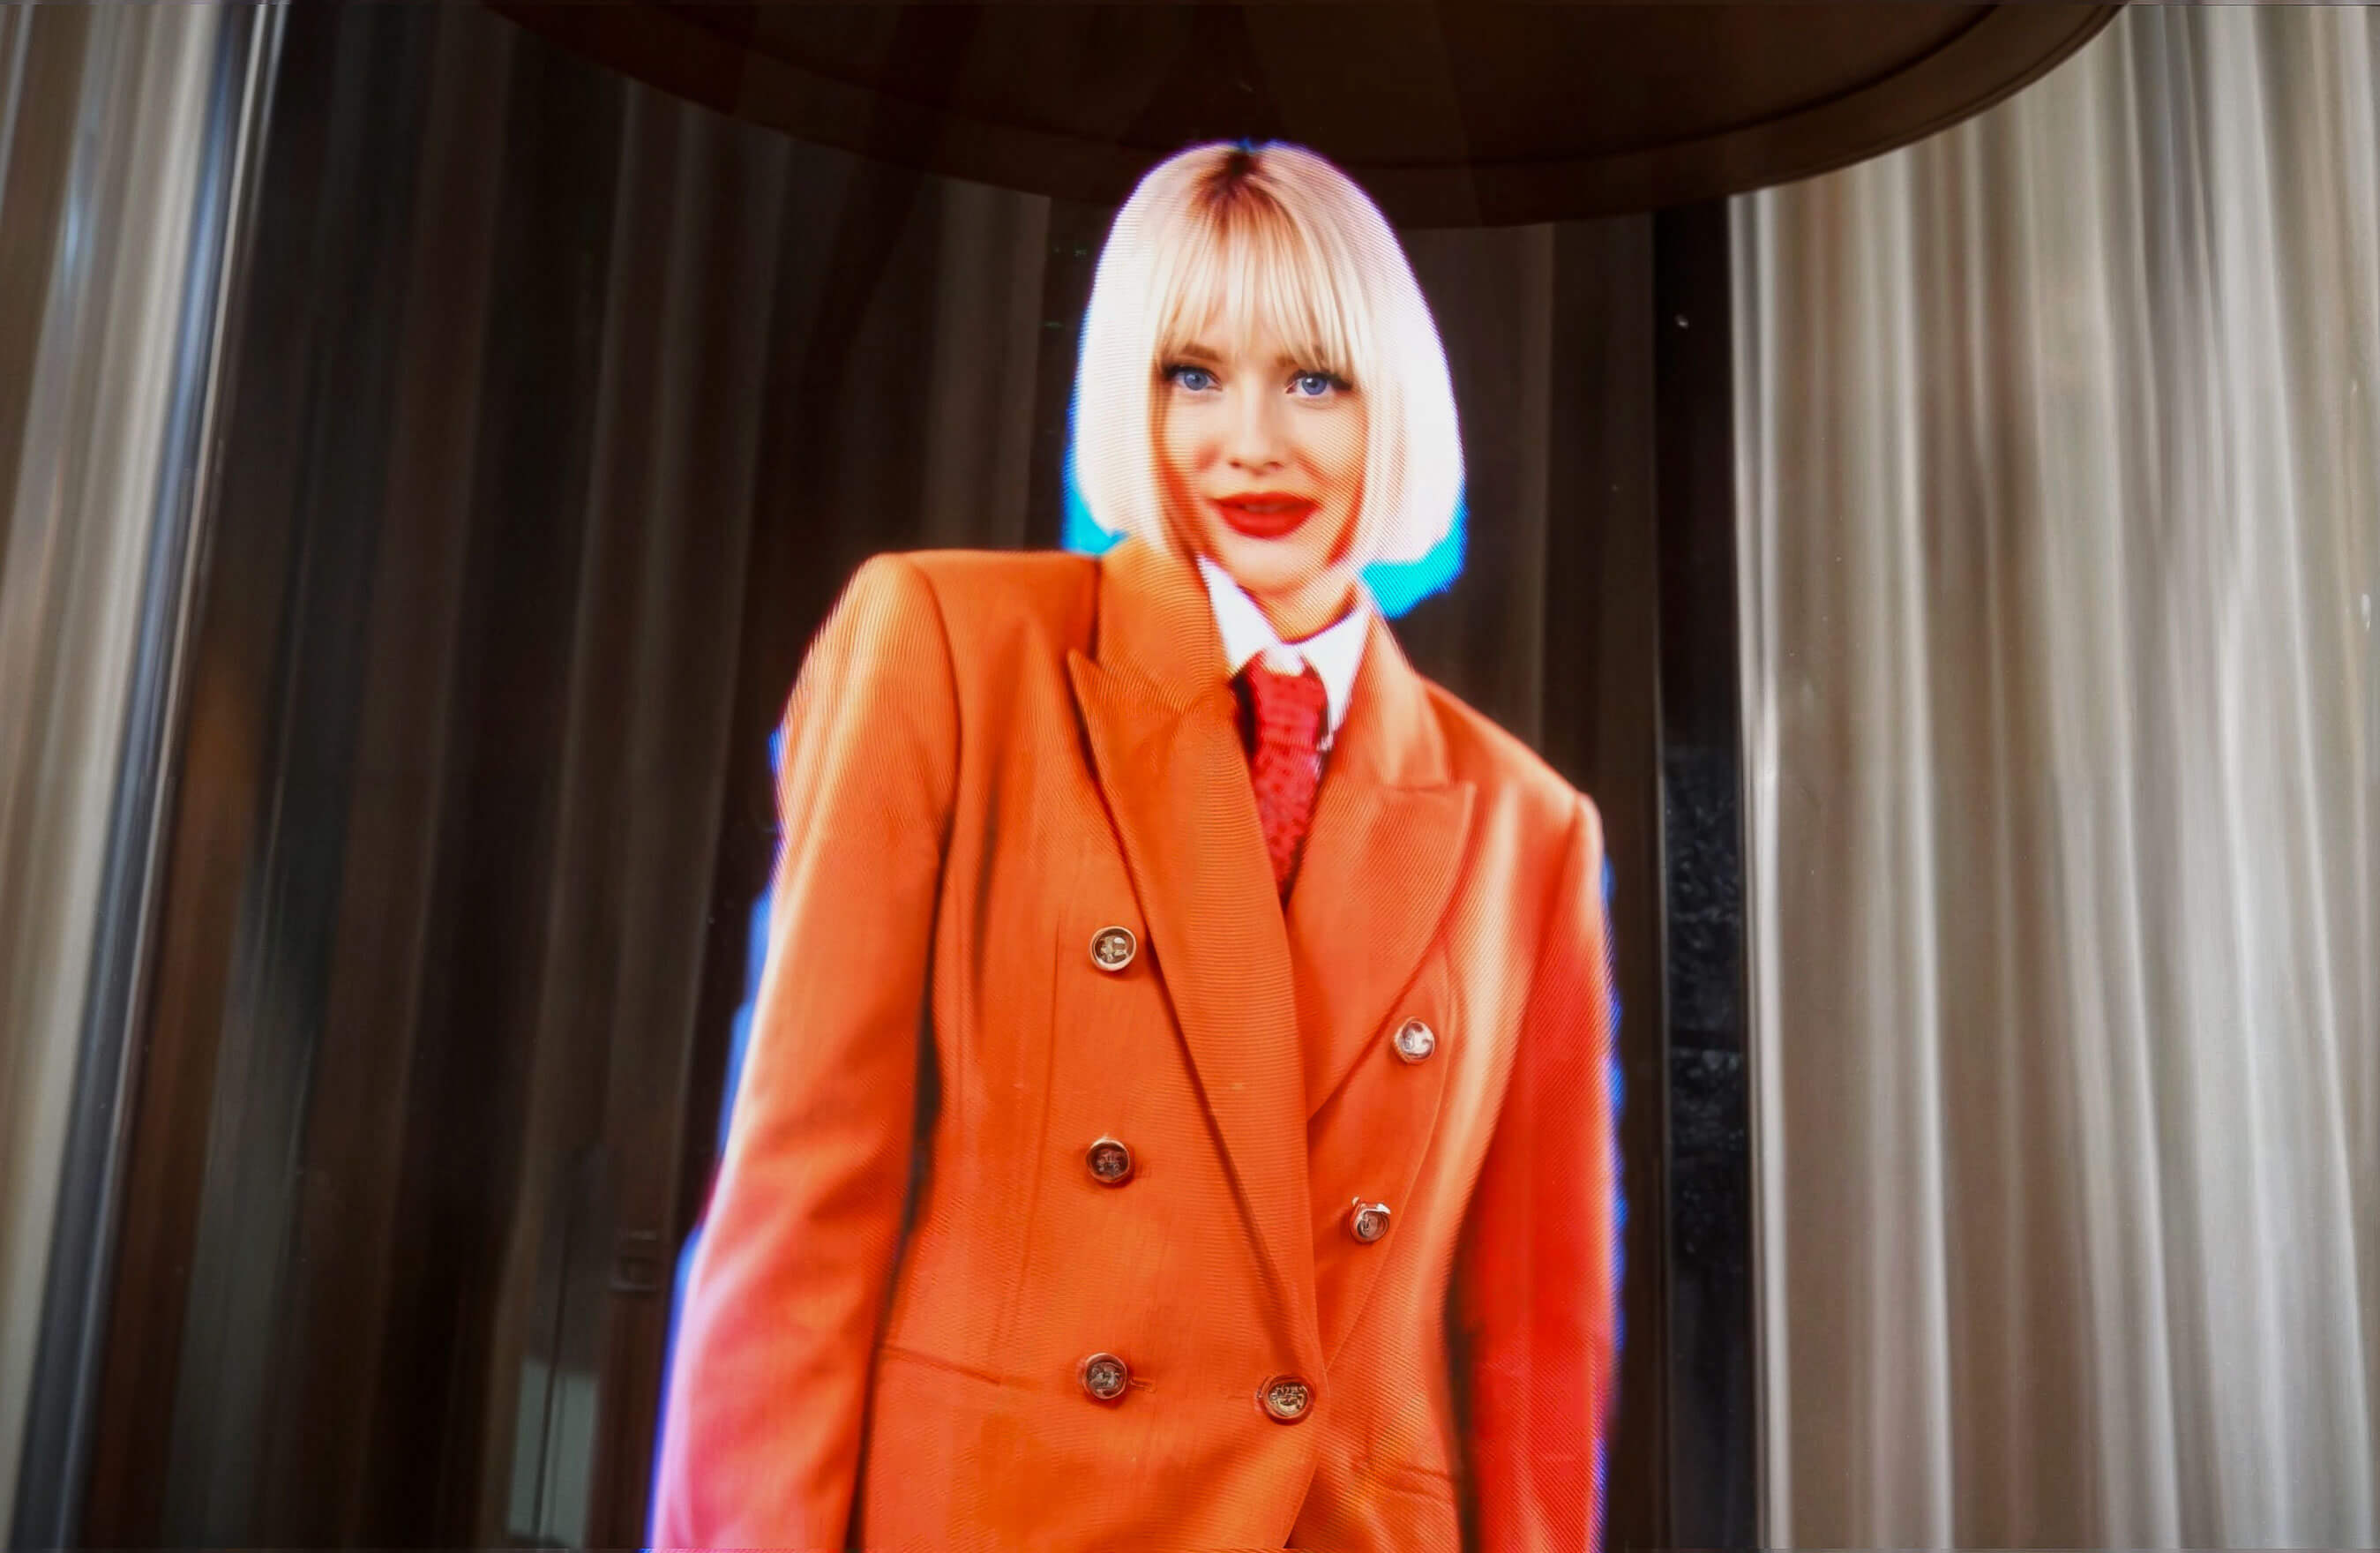
The SmartV Holographic Human is an audio-visual solution designed to display 3D visuals that viewers see as a high-resolution human hologram floating in mid-air. Accompanying speech and sound effects enhance the realism of the experience. The hologram is displayed on a vertical setup of three HYPERVSN SmartV Solo LB devices or on a custom setup. The content is pre-recorded.
Videos used for Holographic Human are initially created by customers according to their needs and then processed by HYPERVSN.