Tech Details Explained: Upload and Manage Your Content with Ease
Main page » No Category » Tech Details Explained: Upload and Manage Your Content with Ease
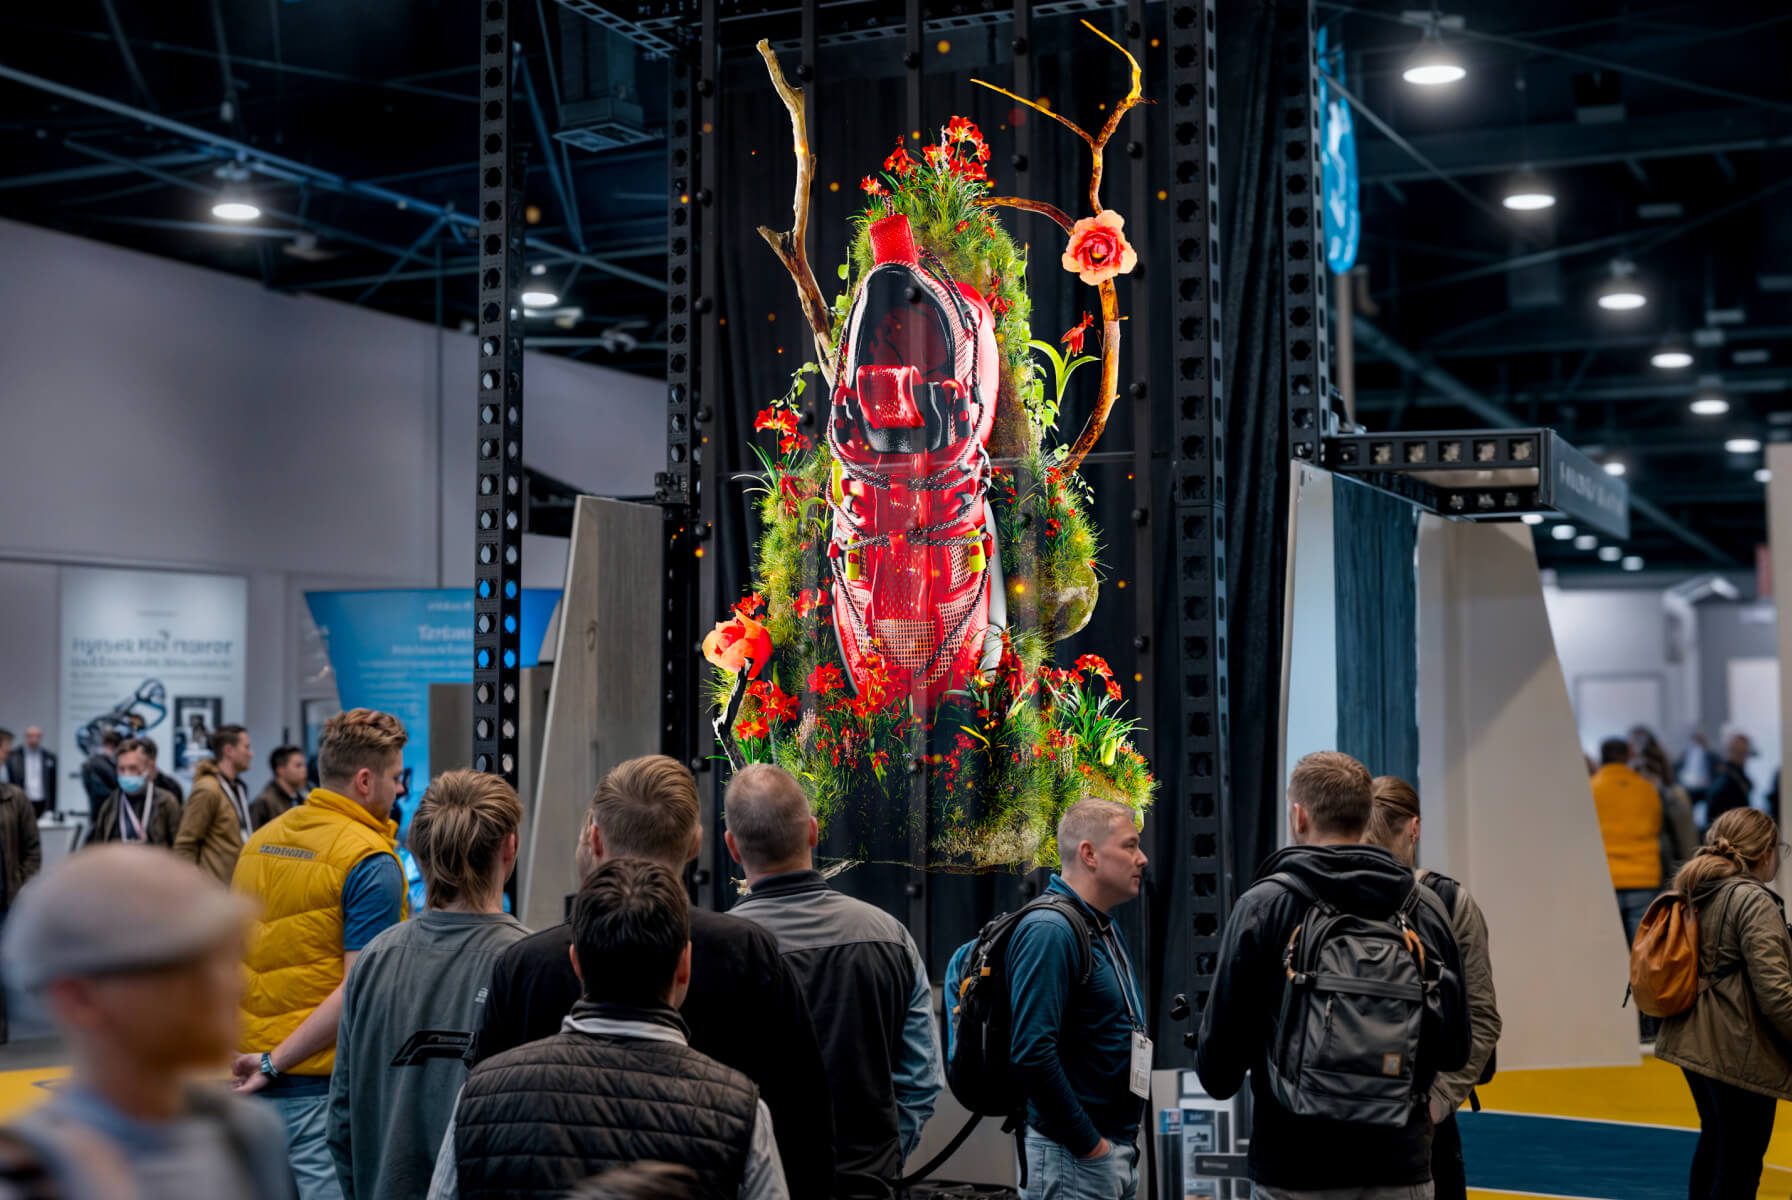
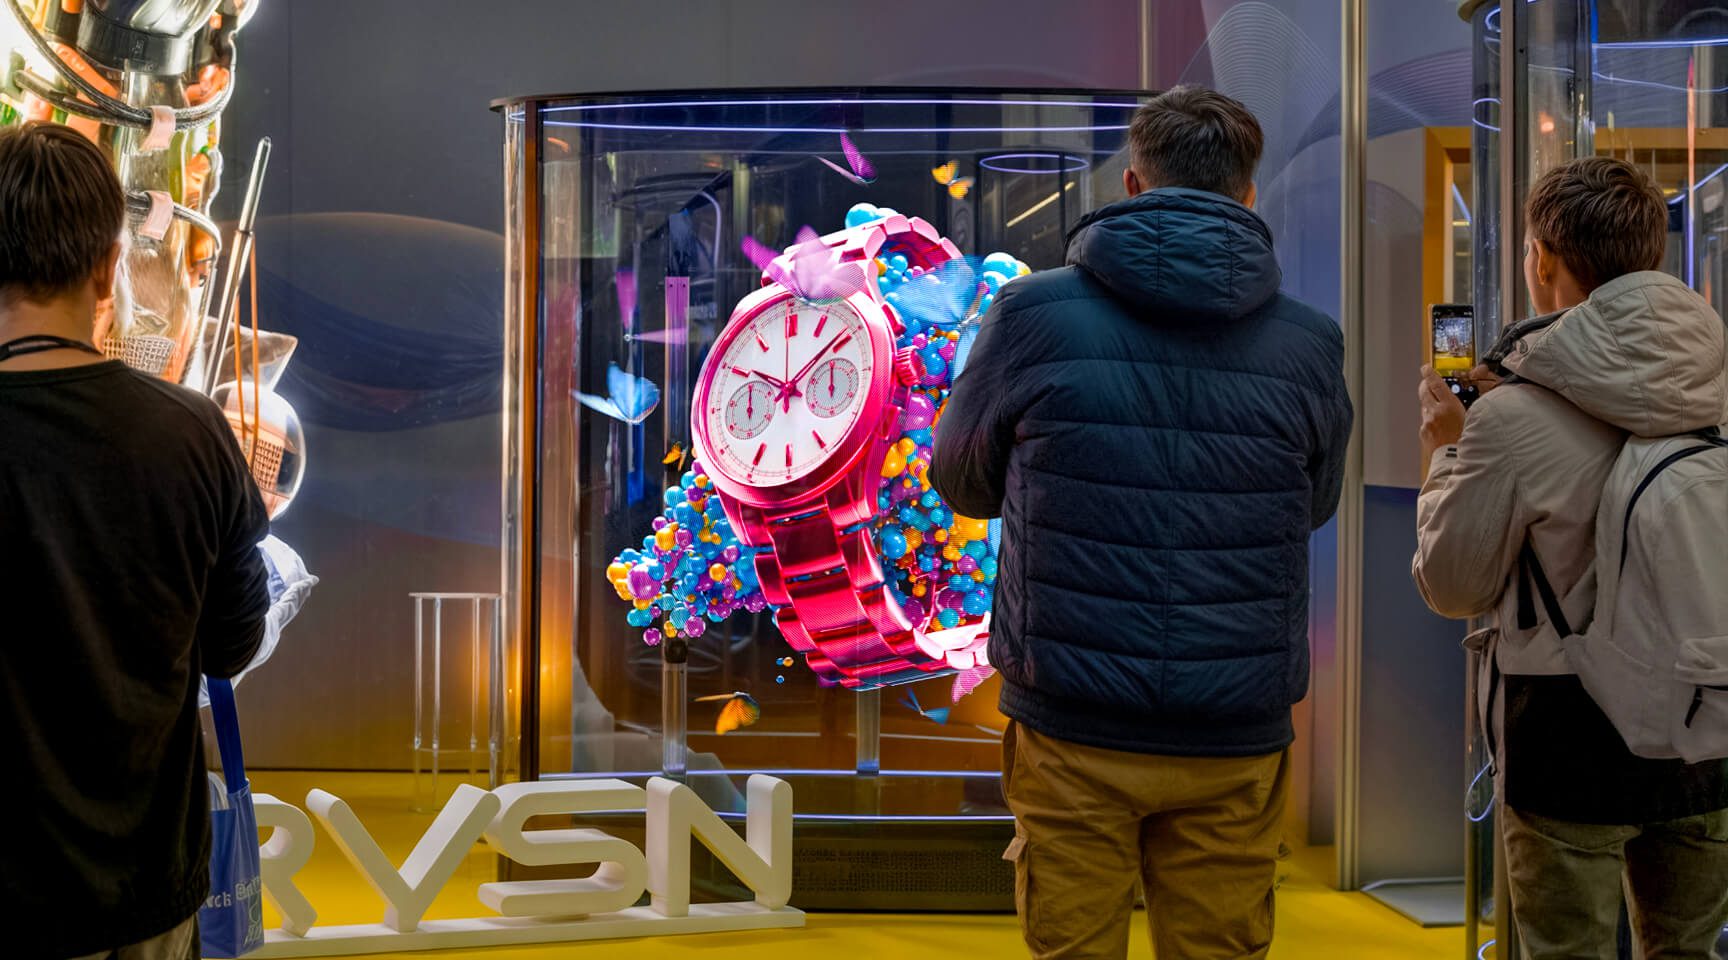
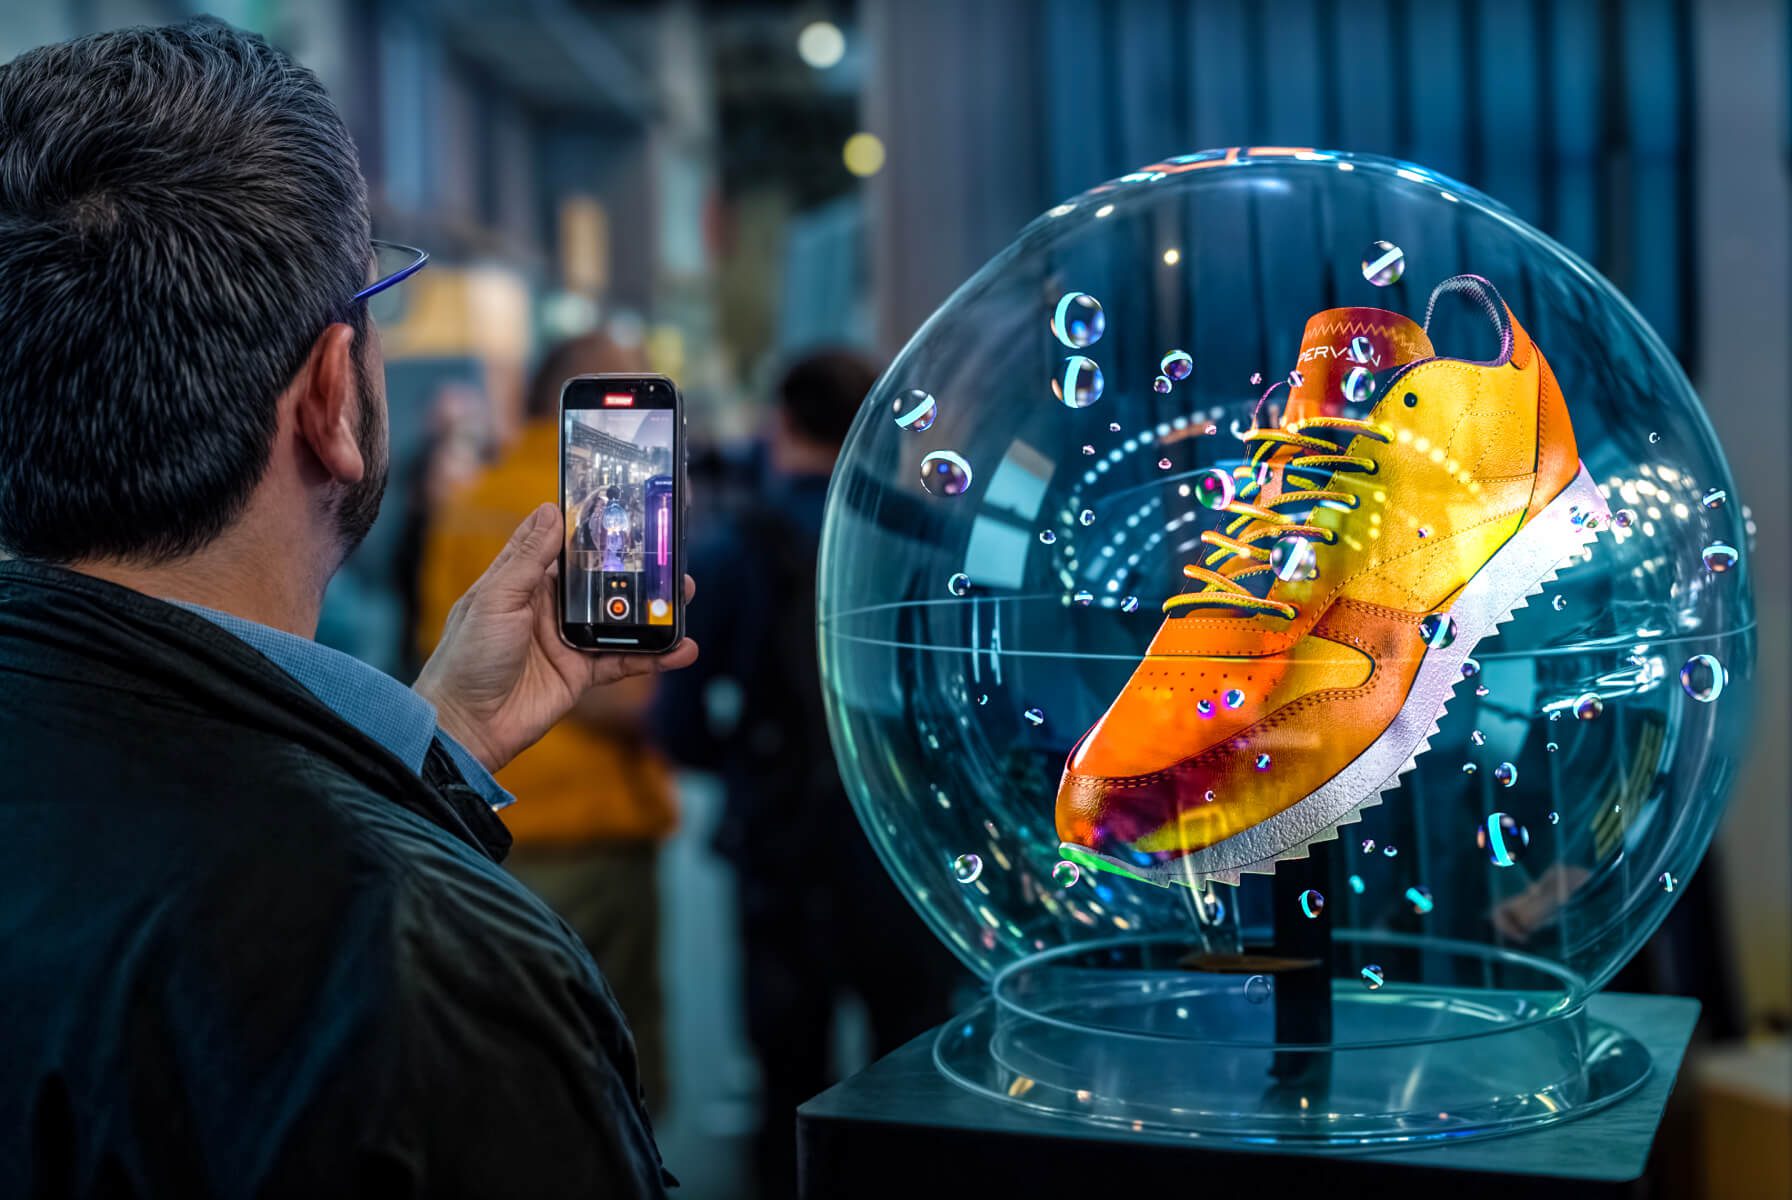
In our previous tech articles, we’ve talked about both the software and hardware side of completing a HYPERVSN Wall installation successfully; in this article, we’ll look at the content uploading side. We will walk you through a few ways of uploading media onto the HYPERVSN Wall via the Wall Application, and controlling the media playback displayed on HYPERVSN Wall.
In our series of articles, we are guiding you through all the stages of completing your HYPERVSN Wall installation. So now we’ve come to the next stage in our pipeline: content uploading. Let’s start with a brief overview of the ways you can upload media onto your HYPERVSN Wall via the Wall App. We’ll help you pick the most convenient one and make sure you sail through the process.
Upload via Wi-Fi
The first option for uploading your content is via Wi-Fi. To finish the content uploading process successfully, please go step-by-step through the following checkpoints:
All the necessary subscriptions should be activated. A Wall Builder/Cloud Pro subscription needs to be activated on each device on the Wall.
All the Devices and the MasterBox should be added to the layout. Please, note that there are several image settings that you might want to adjust while creating a layout – “Mounting Height”, “Distance to Viewer” and “Viewer Offset”. These settings should be adjusted according to the actual position of the Wall towards a viewer. If the Wall is located right in front of a viewer and on eye level (the most common scenario), the settings should be left unchanged.
The Devices should be in Player mode. On the “Devices” tab select the Device/MasterBox in the list and then click Cloud CMS or Player. If you select a particular mode for the MasterBox, the same mode will automatically be chosen for all the Devices connected to this MasterBox.
The Devices and the MasterBox of the selected Wall should have an “Online” status. To appear online the MasterBox and the Devices must be connected to the same network as the PC/laptop you’re using. Note: you need to connect the MasterBox to the router via an Ethernet cable. Internet connection is not required at this step, whereas it is necessary to download the media from Cloud to the Local Library. If you’ve made sure that all the Devices and the MasterBox are connected to your router but they still do not appear on the “Devices” tab, you may add them manually. Go to the manual search in the top right corner of the tab and click “Find Devices”, a dialog window will pop up where you’ll need to enter the IP address of one of your Devices in the network (you can use any network scanning software to find out the IPs of your Devices). After the Devices are added, hit “update info” and they will appear in the list.
After you’ve checked all the above mentioned points you’re good to go:
On the “Walls” tab, select the Wall that you are going to upload a playlist to.
Select a playlist (you may manage several playlists at the same time).
Click “Upload via Wi-Fi” or click on the playlist and then on the open page with its content, click “Upload via Wi-Fi” there.
Wait until the upload has been completed.
There are two possible outcomes:
You will see “Ready to Play” displayed in front of the Wall’s name if a playlist is uploaded successfully.
If there is no connection with any/all of the Wall Devices, the “Upload Playlist to Devices” status will be displayed under the playlist name.
This uploading method is very simple, but at the same time is quite time-consuming. The time it takes for the playlist/playlists to be uploaded to the Wall Devices depends on the size and quantity of the media files, as well as the metrics of your HYPERVSN Wall. In other words, the bigger the Wall is the longer it takes to get the playlists to the Devices.
Upload via SD Card
Uploading via an SD card requires more effort, but it works if you’re pressed for time. In this method MicroSD cards are used for uploading playlists onto the Devices – the MicroSD slot is located on the rotor near the Hotspot/Operating mode switch. To upload media content onto the MasterBox you may use either a card reader or a USB flash drive.
Please, note that everything should be erased from the MicroSD card/ USB flash drive by formatting it to the FAT32 file system.
Here are the step-by-step instructions:
Insert a MicroSD card/USB flash drive into the appropriate socket of your PC.
Select a playlist in the list of playlists (you may manage several playlists at the same time), click Upload via SD or on the page with the playlist content, click Upload via SD.
In the open explorer window, select the MicroSD card/USB flash drive (the corresponding disk) and save the playlist onto it.
Remove the MicroSD card/the USB flash from the appropriate slot/port. The playlist(s) can initially be saved to any folder of your PC and then to the MicroSD card/the USB flash.
For the Wall Devices:
For the MasterBox:
Turn off the Wall Devices.
Insert the Micro SD card with the playlist into the Device (you may start with any Device).
Turn the Device on. Wait till “Done. Eject SD card” message appears on this Device.
Turn the Device off and remove the MicroSD card from the Device.
Repeat these steps for each Wall Device. You may use several MicroSD cards to upload content onto several Devices at a time.
Connect the MasterBox to the power mains.
Insert the USB flash drive (containing the playlist) into the USB socket of the MasterBox. Or connect the card reader to the MasterBox and insert the MicroSD card into the card reader. The playlist will start to download automatically.
If any audio facilities are connected to the MasterBox, it will produce the “Start update” sound message. Once the downloading procedure is successfully finished, the “Update success” sound message will be produced. The “Update failure” sound message will be produced, if the downloading procedure is finished incorrectly.
Turn the Device off and remove the MicroSD card from the Device
Once the Wall Devices are turned on, the last uploaded playlist will start to play.
Playback control
Now that you’ve successfully uploaded your content to your Wall, let’s talk about the ways you can control the media playback on it. You can either use the Wall App or go via the MasterBox’s Web Management page, but let’s take a closer look.
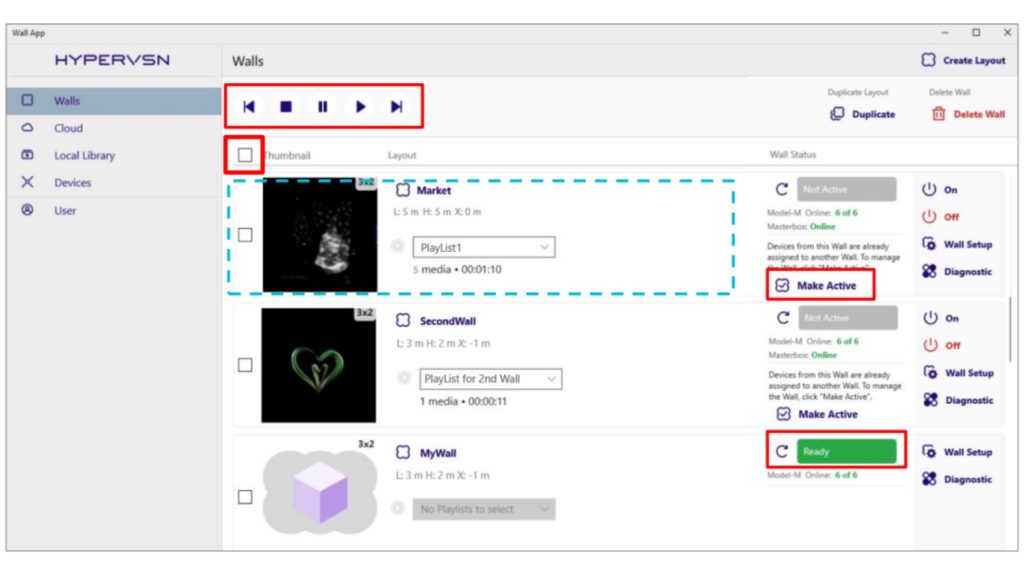
In the Wall App to start media playback, a playlist should have the “Ready to play” status and a Wall should have the “Ready” status. If some of your Devices are included in a number of Walls, to start playback on one particular Wall, you should make this Wall “active”. To do this, click the “Make Active” button located in front of the Wall name. If you have only one Wall, it will be “active” by default.
There is a panel located over the Walls list that contains the elements to control the Wall’s playback. You may stop/start playback, pause playback, play the previous/ next media in the selected playlist.
To begin controlling a Wall, first select it in the list. You are also able to select and manage a number of Walls simultaneously. To manage all of the Walls simultaneously, select the checkbox located in the list heading (shown in the previous picture). Elements to control playback of a particular playlist are also available on the page with its content.
Note, however, that for this type of content management the network connection and all the Devices need to be connected to one and the same network.
This method is very convenient, but what if there is no opportunity to bring a computer to the site or there are network problems and you need to change the playlist or the playing media in it? The solution would be to go to the MasterBox’s Web Management page where playback control functions are also available on the “Player” tab. Note that no internet connection is required to access the page and it can be done from a mobile phone or a tablet besides a PC/Laptop.
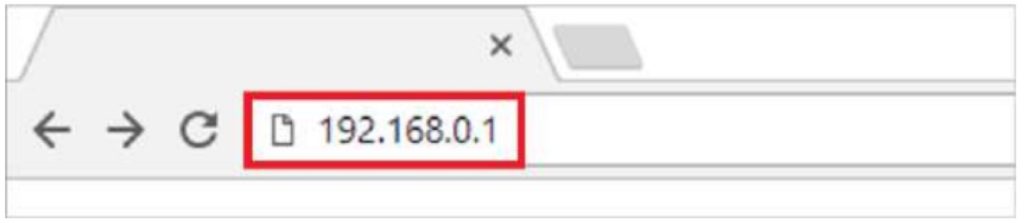
To access the MasterBox’s Web Management page:
Turn on the Hotspot switch of the MasterBox.
Navigate to the Network and Internet settings on your PC/phone/tablet. Go to the list of available networks and connect to the following Wi-Fi network: wall-YYYYYYY, where YYYYYYY is the serial number on the label of your MasterBox. Use the following password: 0c3a71dad2 (the first digit is a zero). This password cannot be changed.
Open a browser. Type the following IP-address 192.168.0.1 into the browser address bar.
A page with a PIN request will appear at this step.
(The pin can be found on the web-based CMS : web-based CMS → Devices → 🛈 button located in front of the MasterBox serial number in the list of Devices).
After you’ve entered the PIN the Web Management page will open. In the Player tab you will find all the elements to control the Wall’s playback there are on the panel in the Wall App.
Please note, the Web Management page controls the Wall playback only, content cannot be uploaded from this page.
We strive to leave our customers satisfied not only with HYPERVSN products, but with the quick and effective technical assistance our Team provides as well. So if you have any questions, please feel free to contact HYPERVSN Tech Support for help. Our team of highly qualified experts are ready to provide assistance 24/7.