Making sure you’re getting the most out of your HYPERVSN installation is very important to us, as well as providing you with all the support you need. To help you answer some frequently asked tech questions, and to help your HYPERVSN installation fully captivate audiences we decided to introduce a series of ‘support’ articles. In this article, you will find useful tips on how to successfully complete the HYPERVSN Wall installation process.
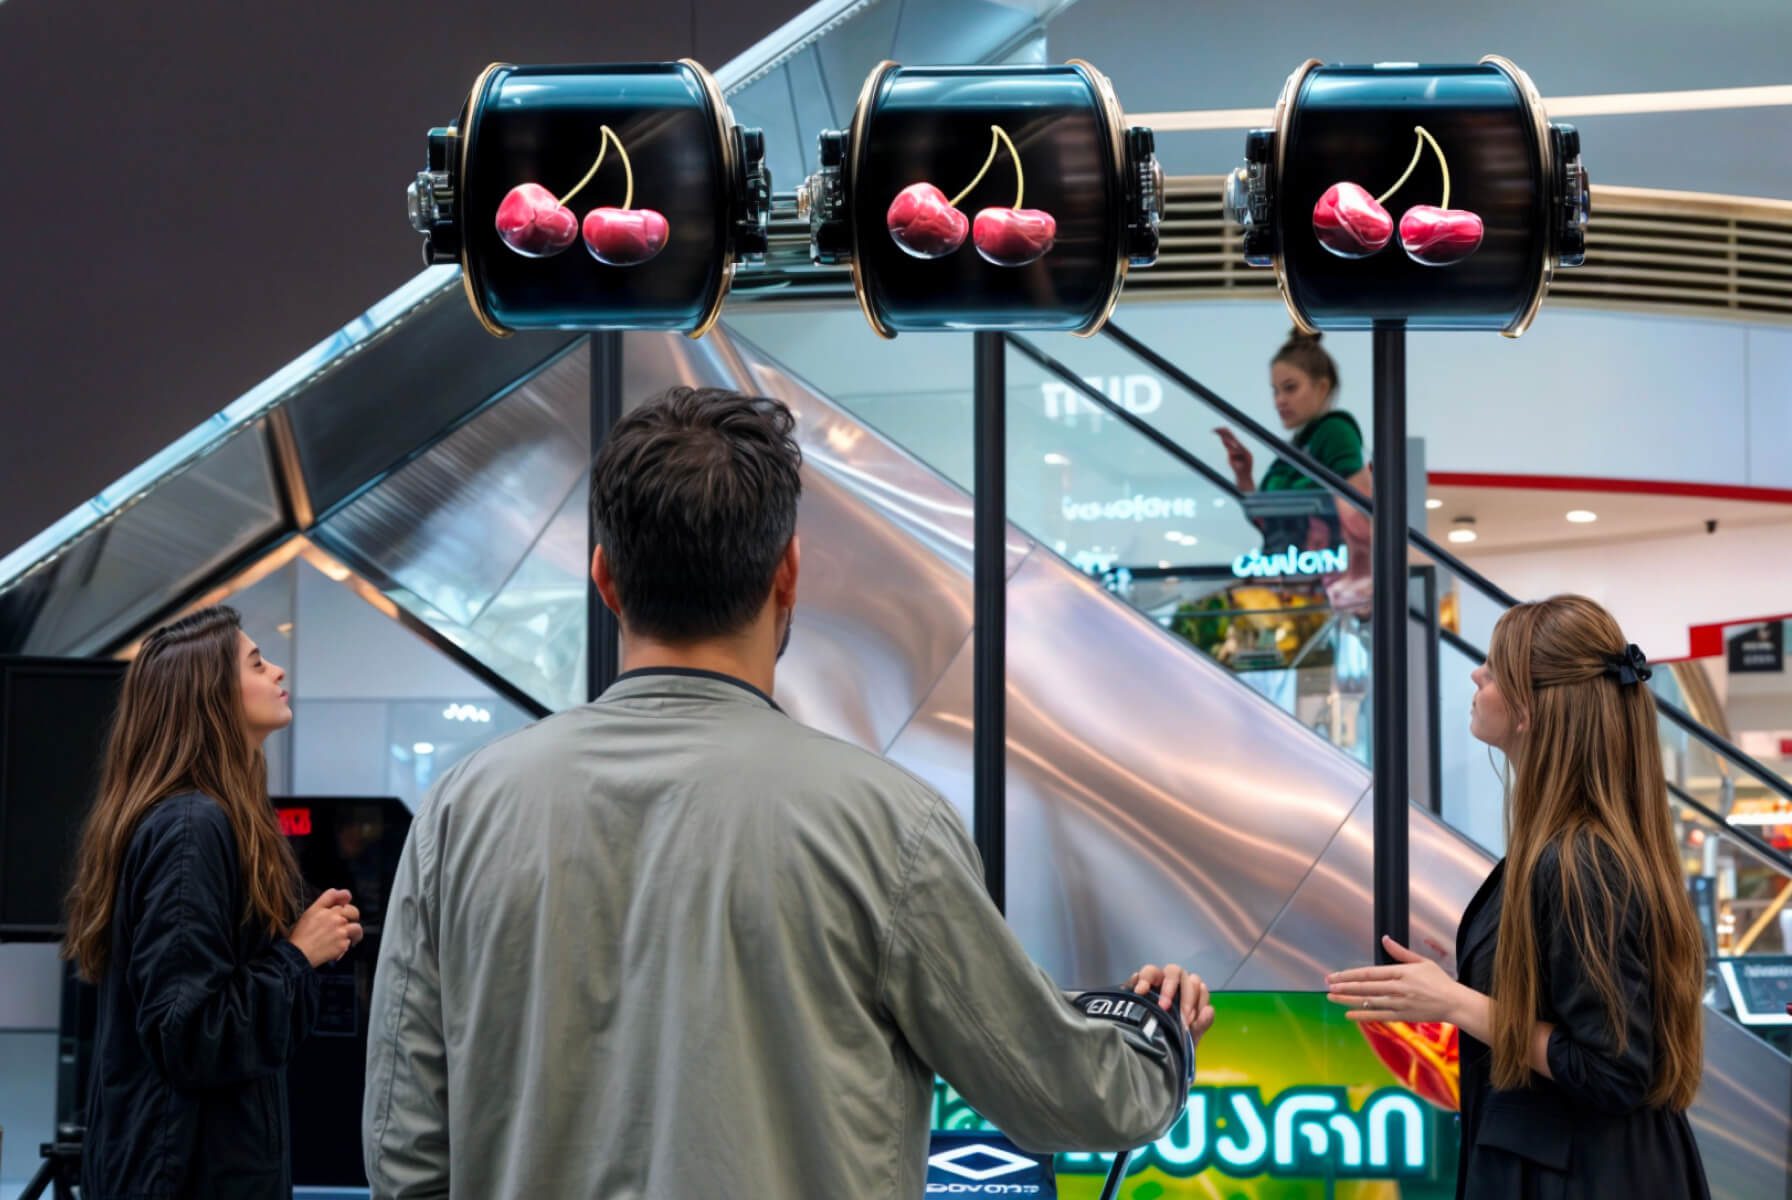
People are immediately stunned when they see 3D holographic animations displayed on HYPERVSN Wall. To achieve this ‘wow’ effect and take your HYPERVSN setup to the next level, you need to successfully complete the HYPERVSN Wall installation process.
Having extensive experience in providing our partners and clients with technical assistance, we’ve outlined below the most important things you should keep in mind while installing HYPERVSN units.
1. Visual check
When unpacking the devices, visually check them, making sure there is no physical damage.
2. Wall devices and MasterBox update
Before using and activating the devices and MasterBox, don’t forget to update them with the latest firmware packages (contact our Support team for updates). You should have at least one SD-card and one USB-drive.
3. Mount HYPERVSN units on a panel/construction
Using a spirit level and vibration resistant backboard is the key to a successful Wall installation. By using a vibration resistant backboard, and making sure the overall construction is stable enough, you will prevent the rotating devices from wobbling.
What’s more, it’s better to mark the holes on the surface of the structure not manually, but rather with the help of a CNC machine, if possible. By doing so, you will reduce the possibility of making errors to a minimum, which is very important to make the calibration process as easy and successful as possible. To speed up the calibration process and make it more accurate, you can also use a spirit level.
4. MasterBox activation
Keep in mind that the MasterBox needs a wired LAN connection (use the Ethernet cable) for activation. The good news is that you can activate it in advance. To get more details, check our Manual and find step-by-step guidance through the MasterBox activation process.
5. Stator firmware update
After the MasterBox is updated and activated, make sure that all the Stators have the latest firmware, and update them if needed. To get that information, visit the Web manager page of the MasterBox, where the latest version will be indicated.The Stator firmware differs from the ordinary rotor updates, and is essential for correct HYPERVSN Wall performance.
6. Useful information
All the useful Manuals regarding HYPERVSN Wall installation can be found in your Account in the “Wall” section. If you want an easy step-by-step guide to answer your questions concerning HYPERVSN Wall installation, don’t forget to check video tutorials, as there is also a “Wall” section.
When installing units you should keep in mind that certain parameters will make your 3D holographic content look brighter, and attract everyone’s attention in the room. Here’s a few tips to create truly amazing HYPERVSN Wall installations:
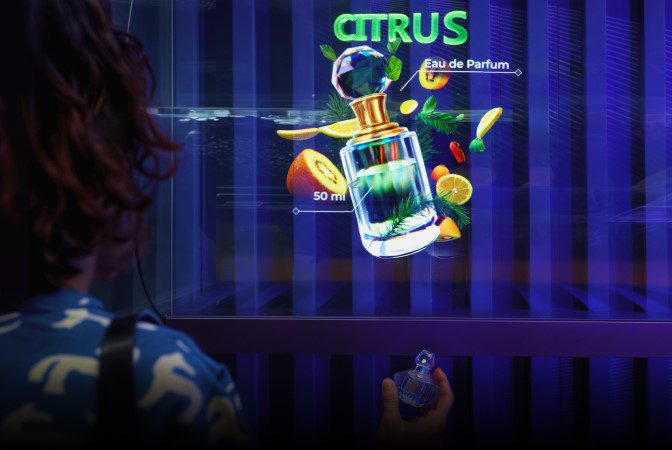
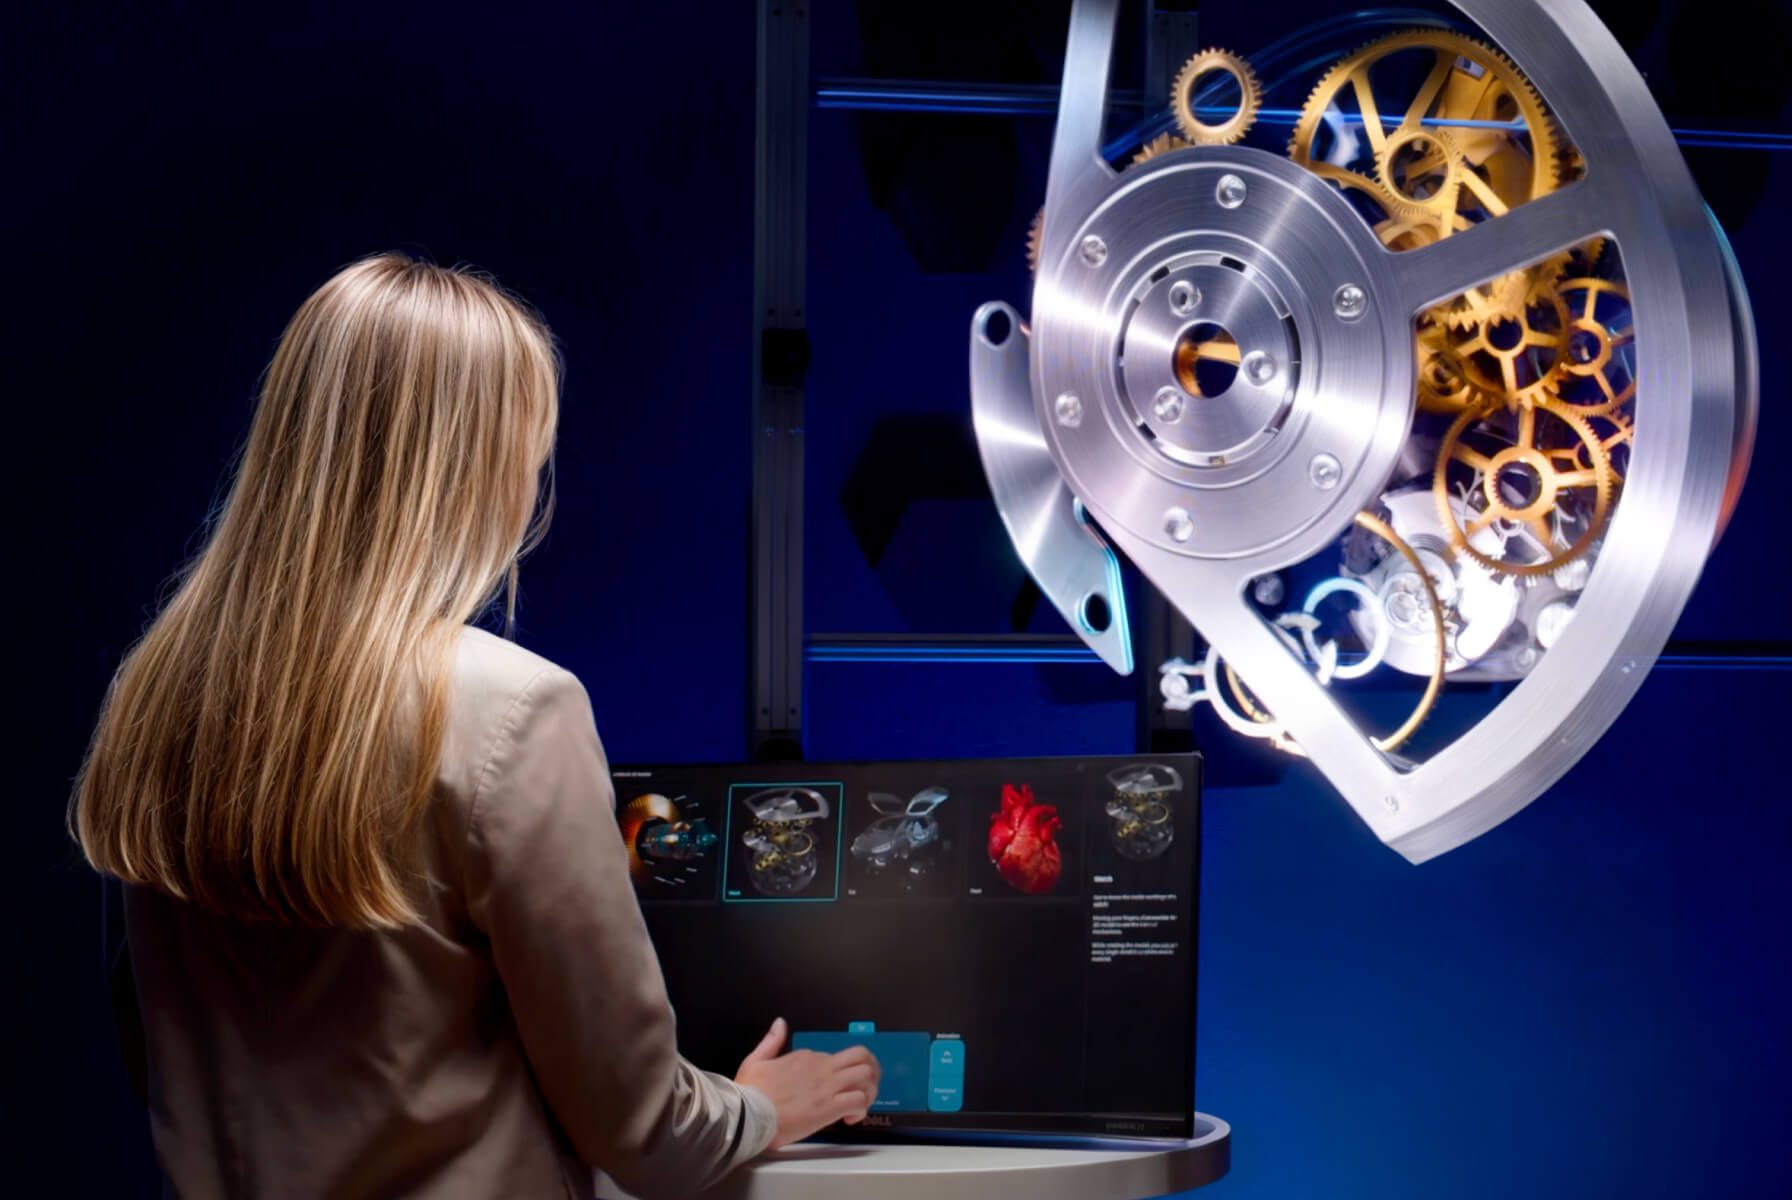
a) Background colour is important
Choosing the right background can create real magic. It can make 3D holographic visuals look even brighter, and 3D effects even bigger.
Using a dark grey background works the best on HYPERVSN installations.
Look how amazing the background looks in our installation at CES 2019. People all around the room were attracted to our booth, as HYPERVSN Wall created an immersive experience, bringing sci-fi-movie technology into our reality.
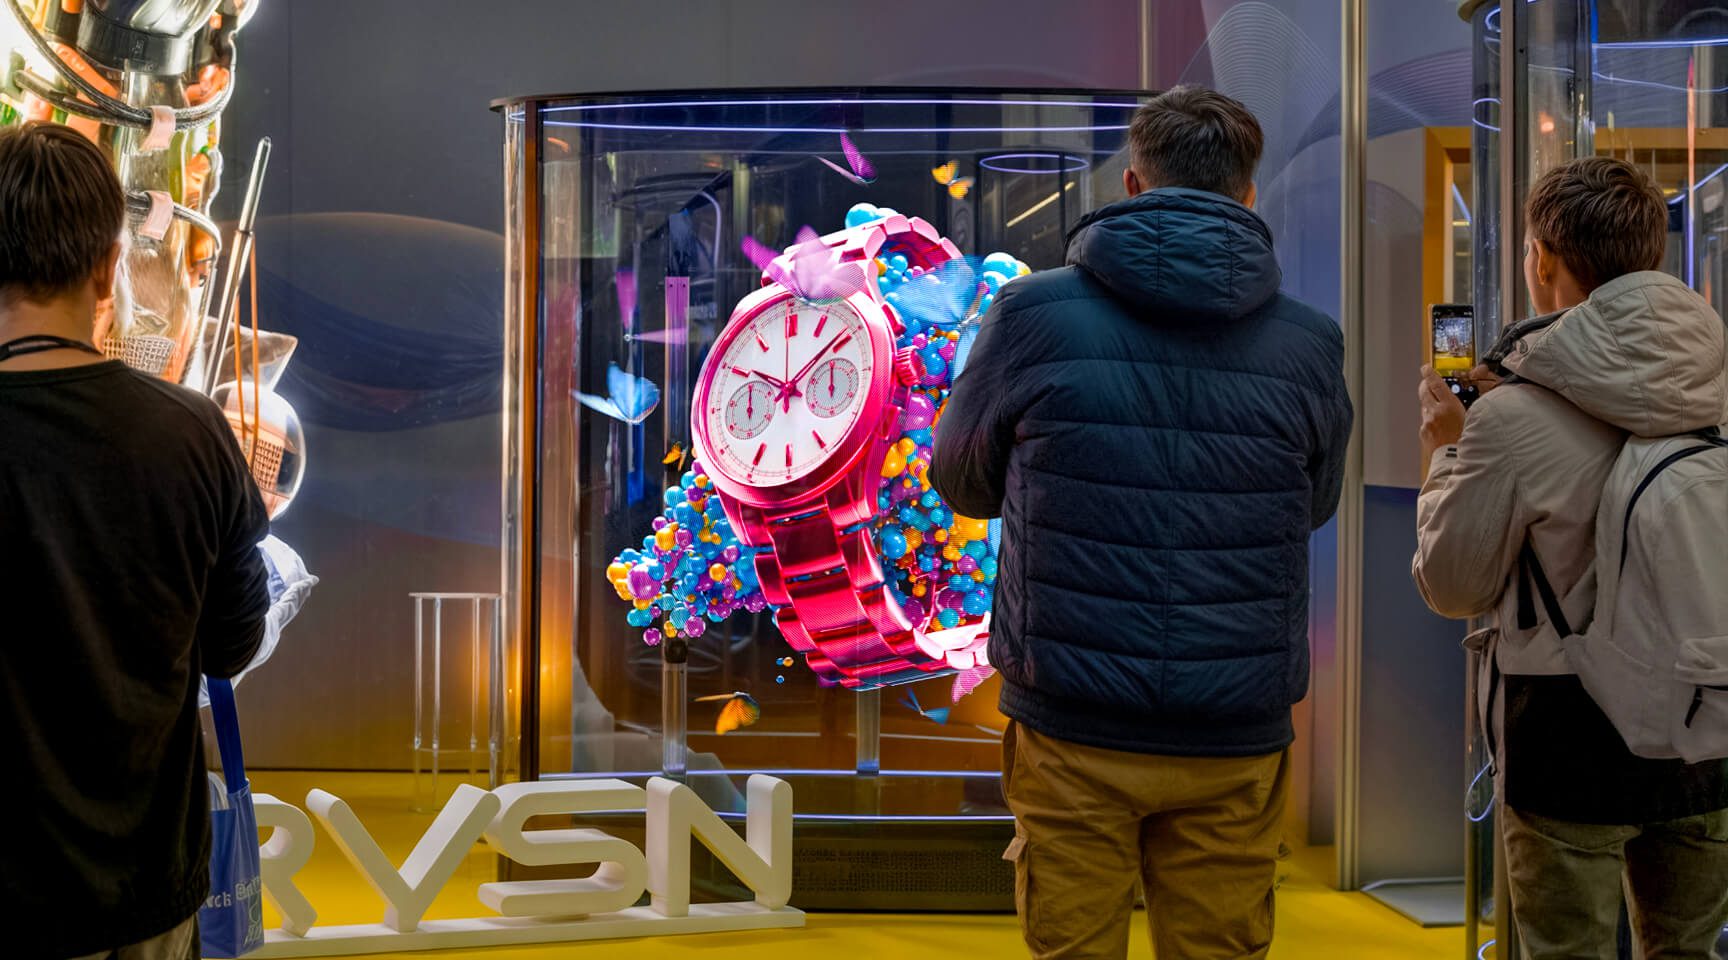
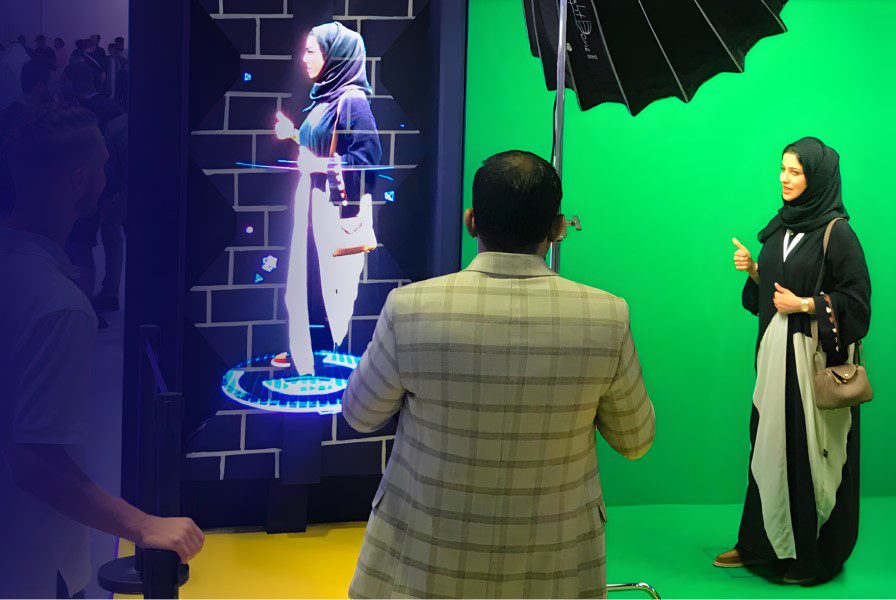
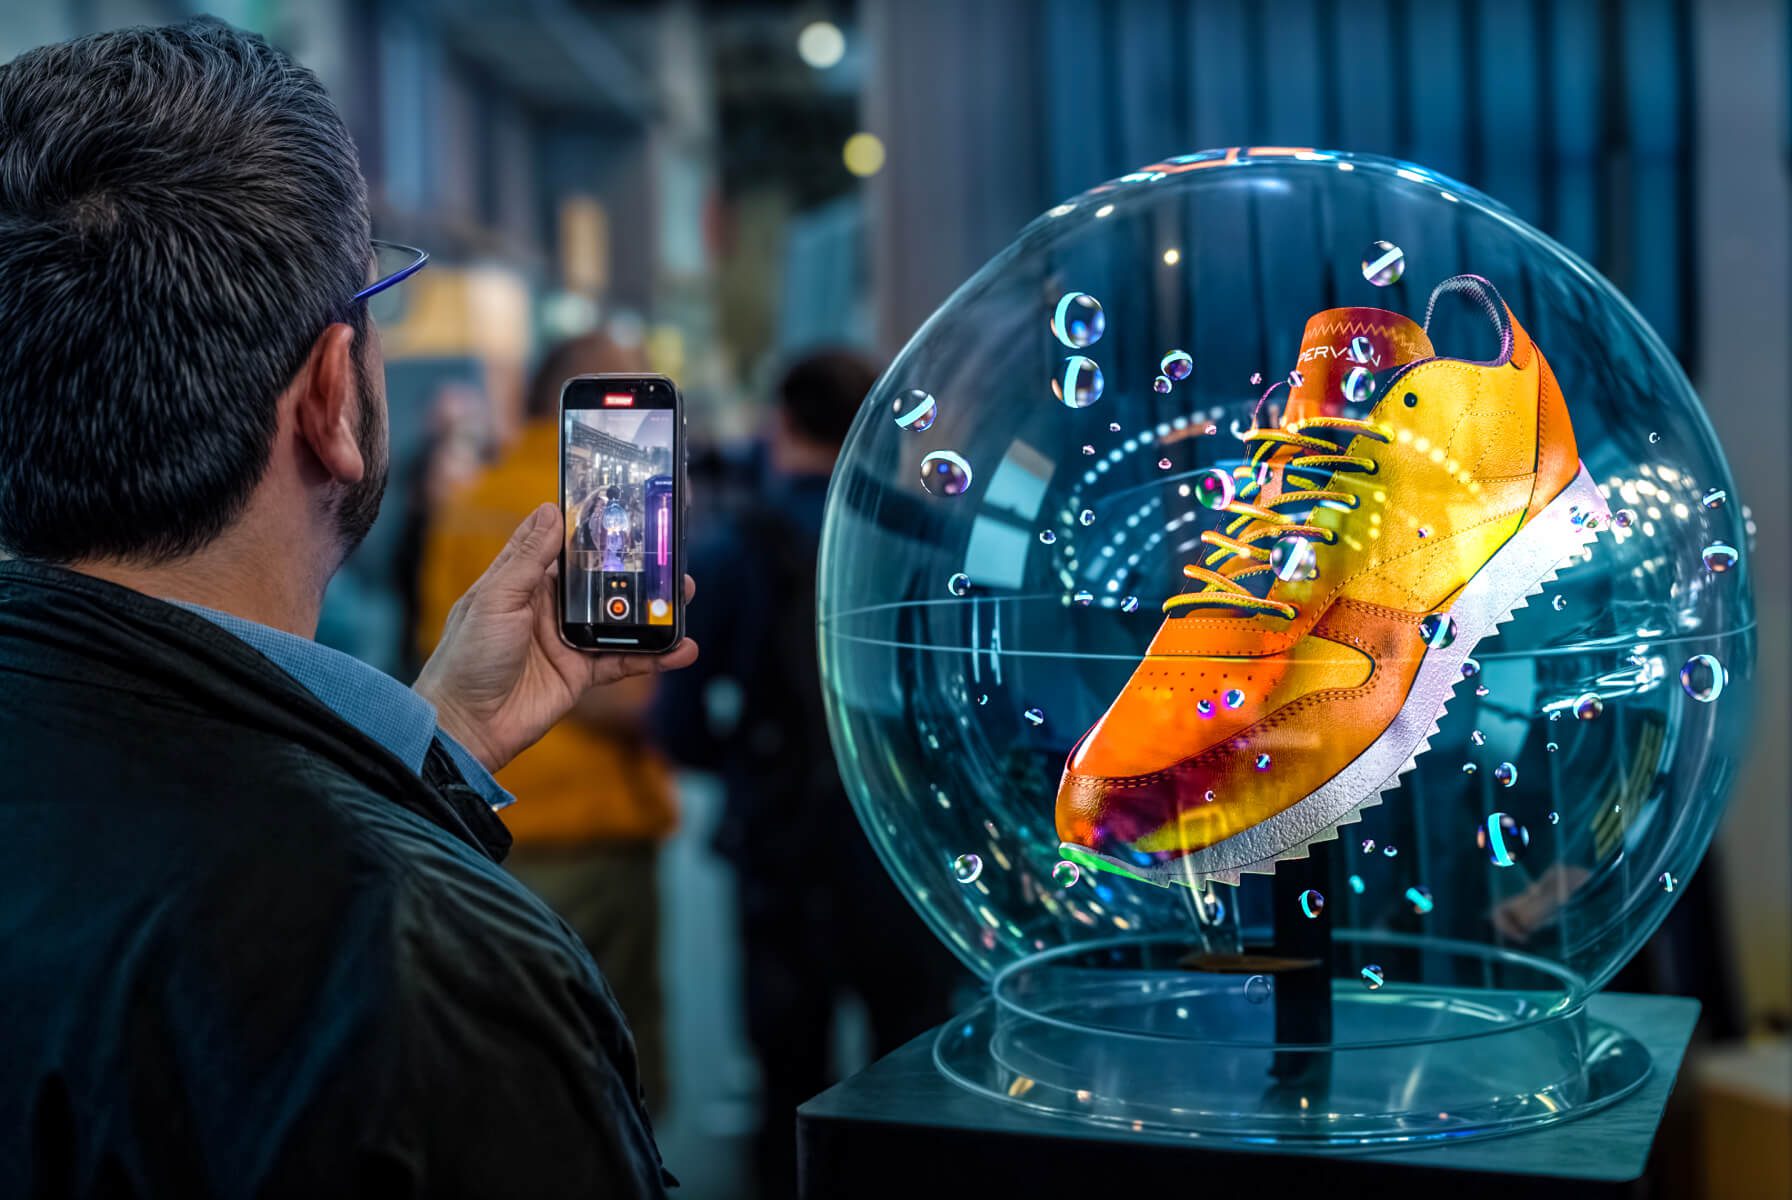
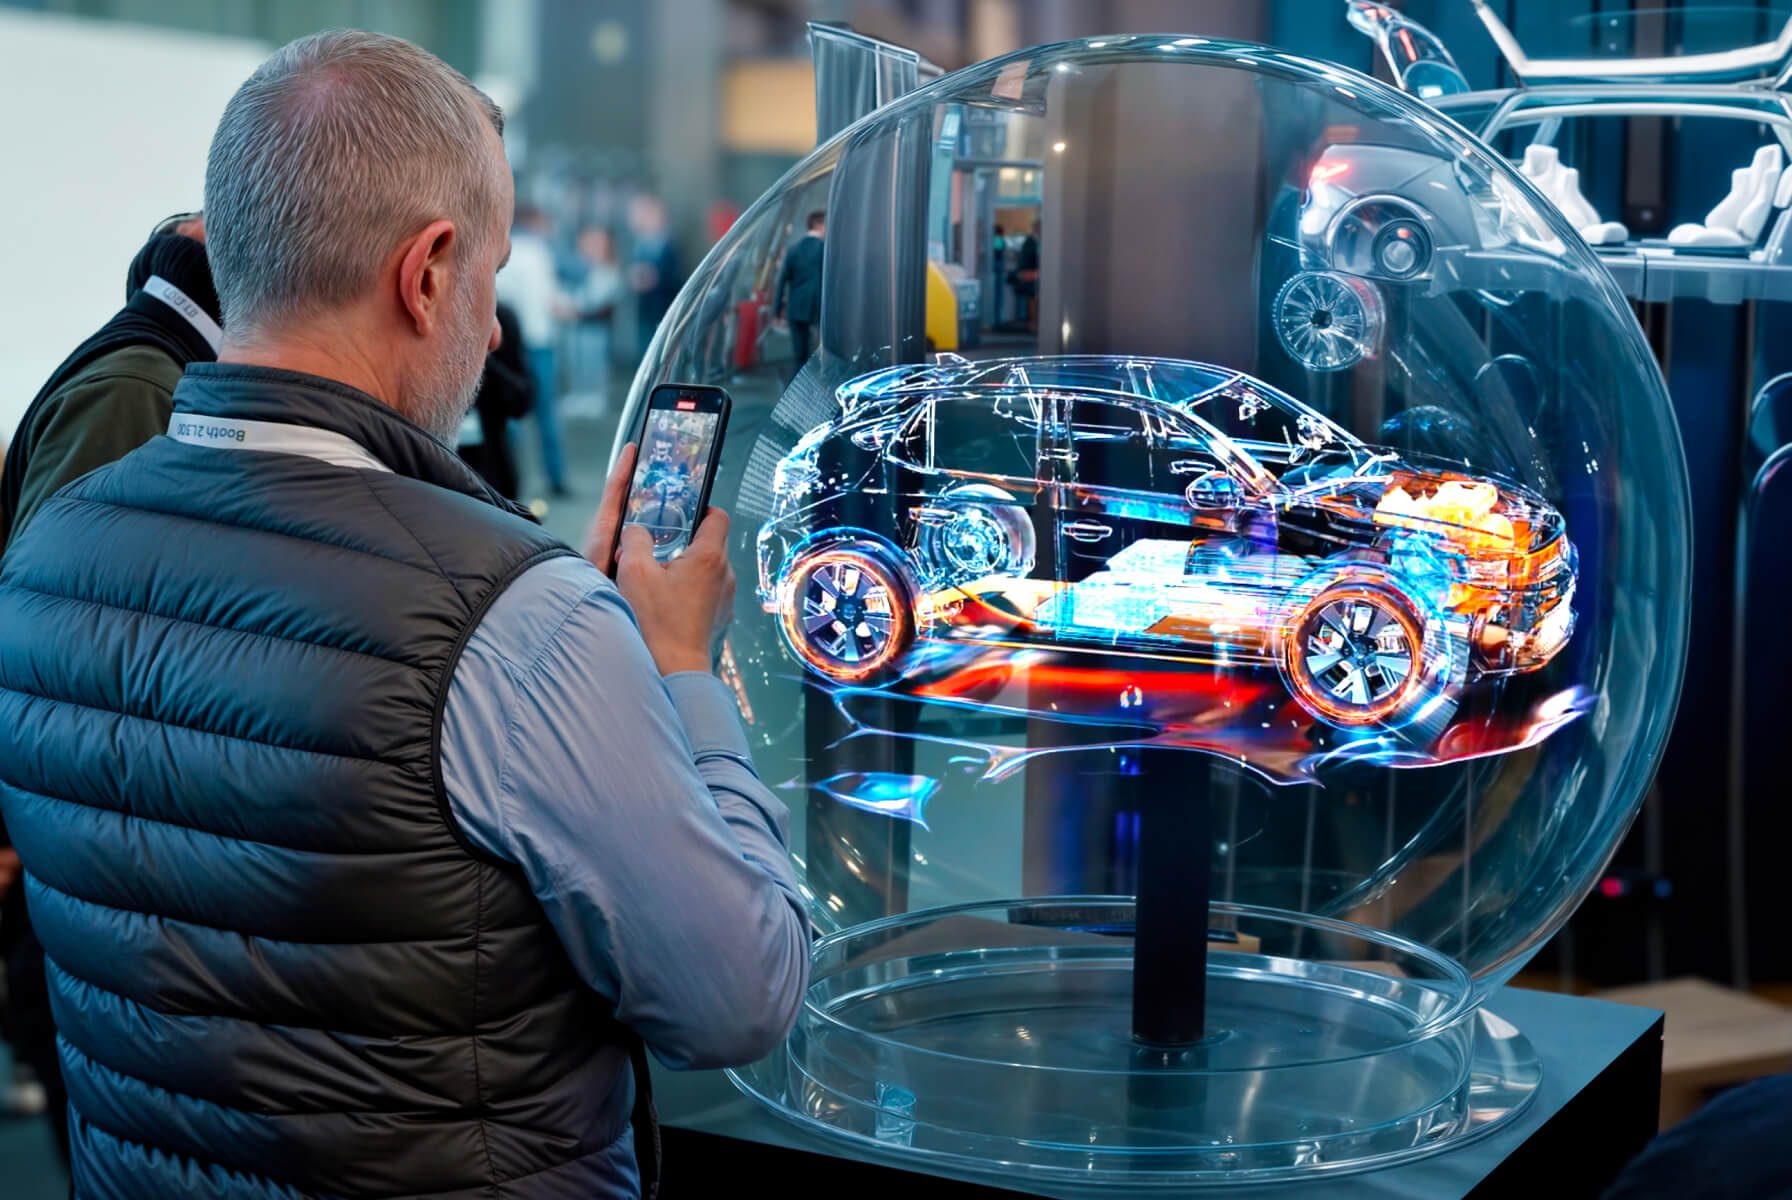
b) Using a transparent background
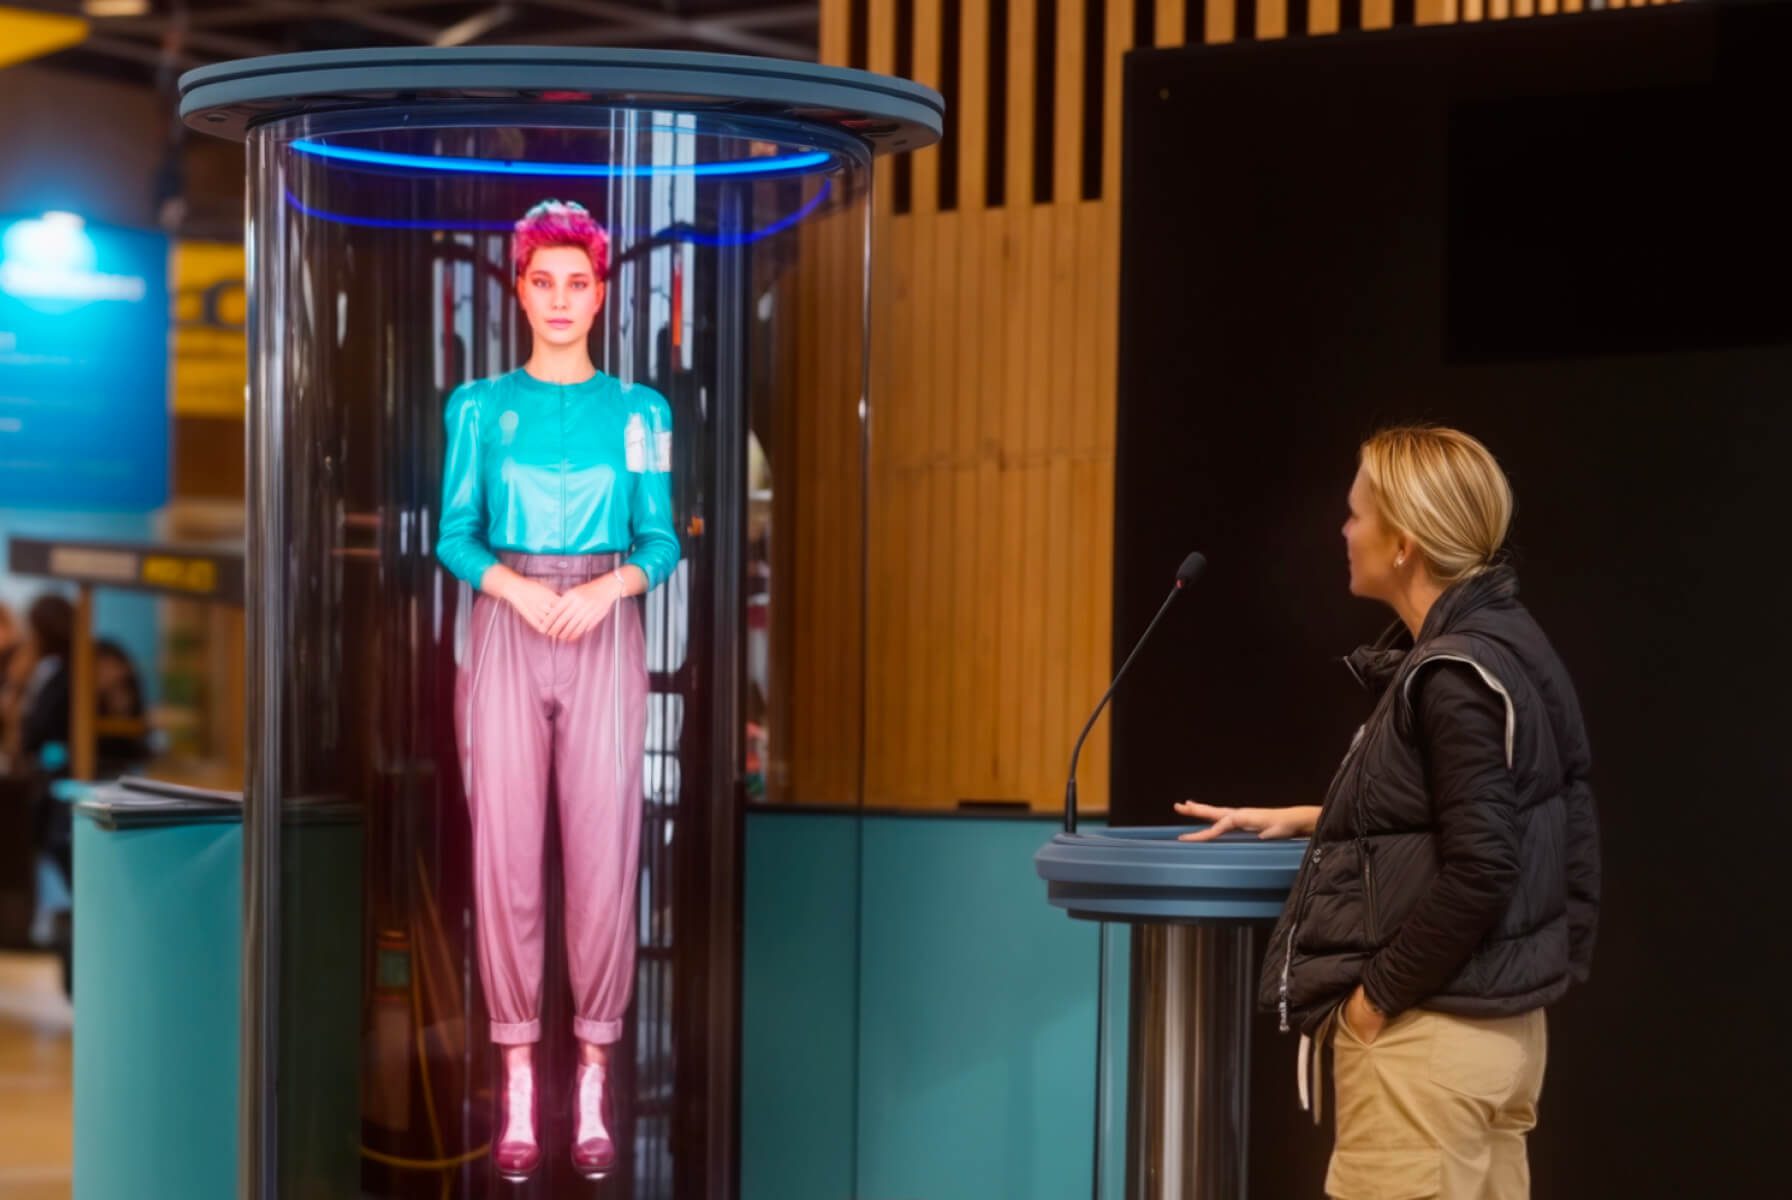
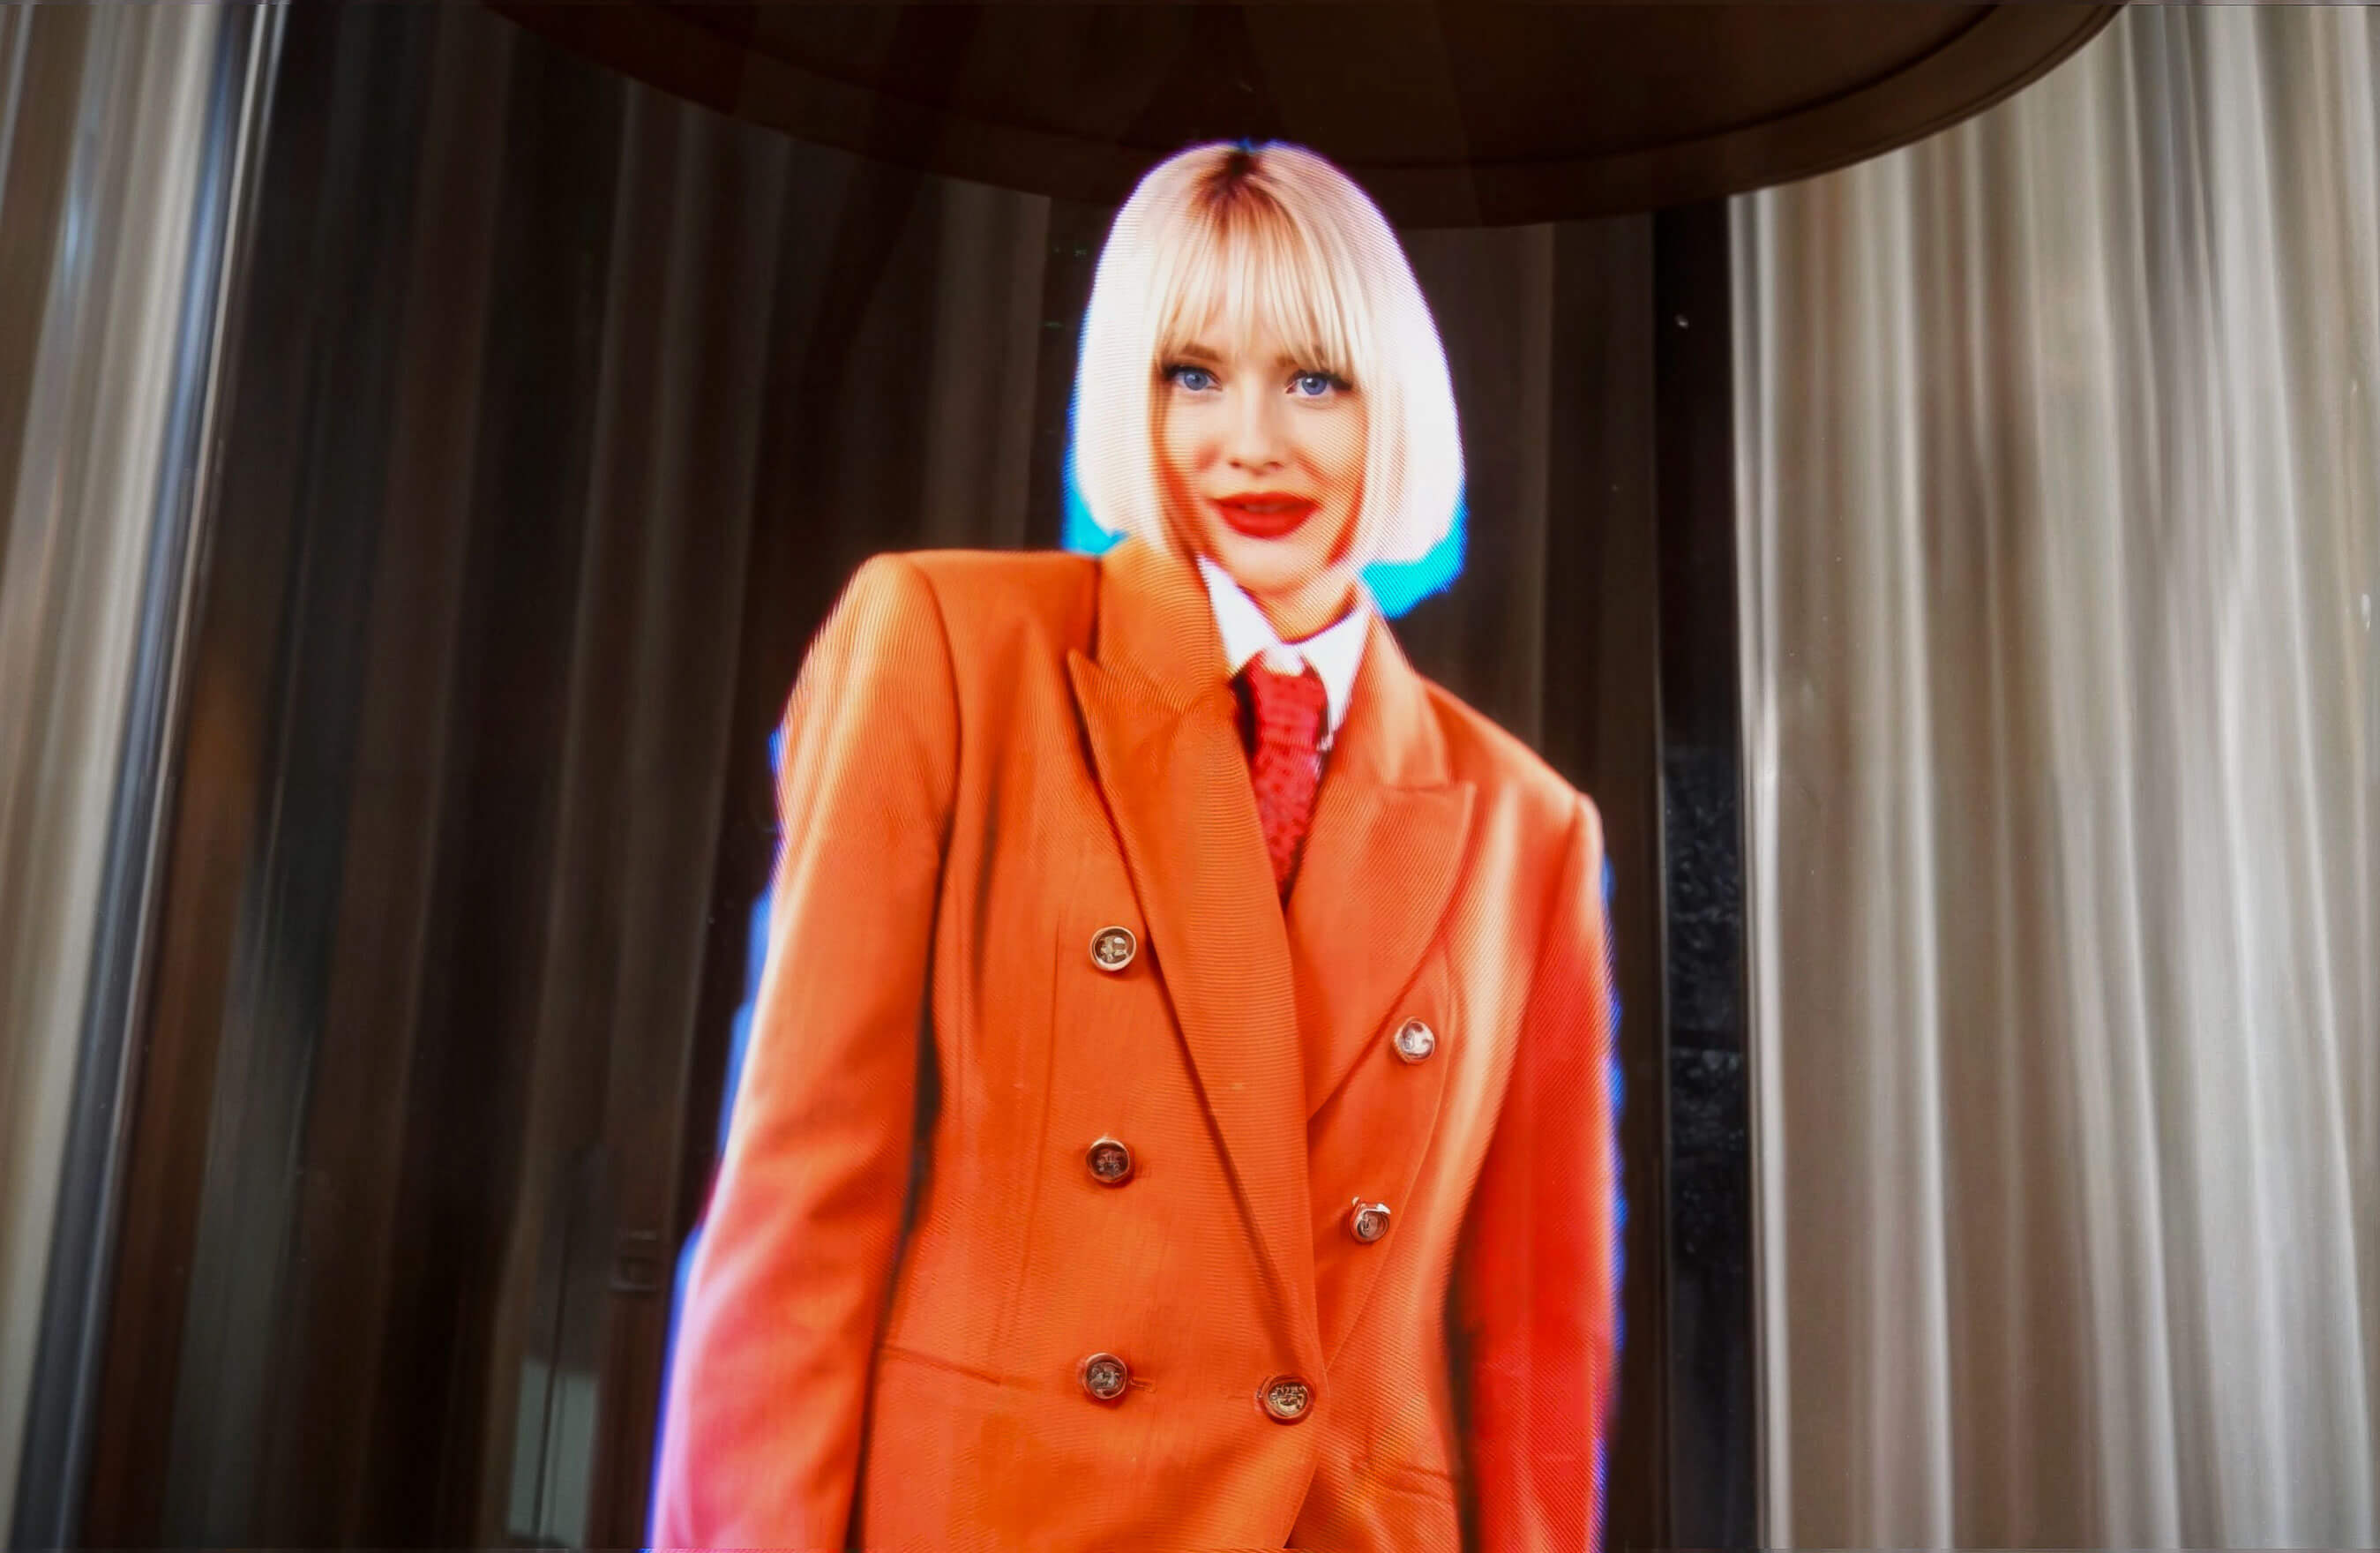
Take your installation even further by placing HYPERVSN Wall on transparent backgrounds. The installation carried out by our partner 3D Innovation Nordic left customers in complete awe; they transported customers at Ski Storsenter to the future of retail shopping. Displaying HYPERVSN’s incredible Human Hologram visuals on transparent background made them look like they were floating in mid-air.
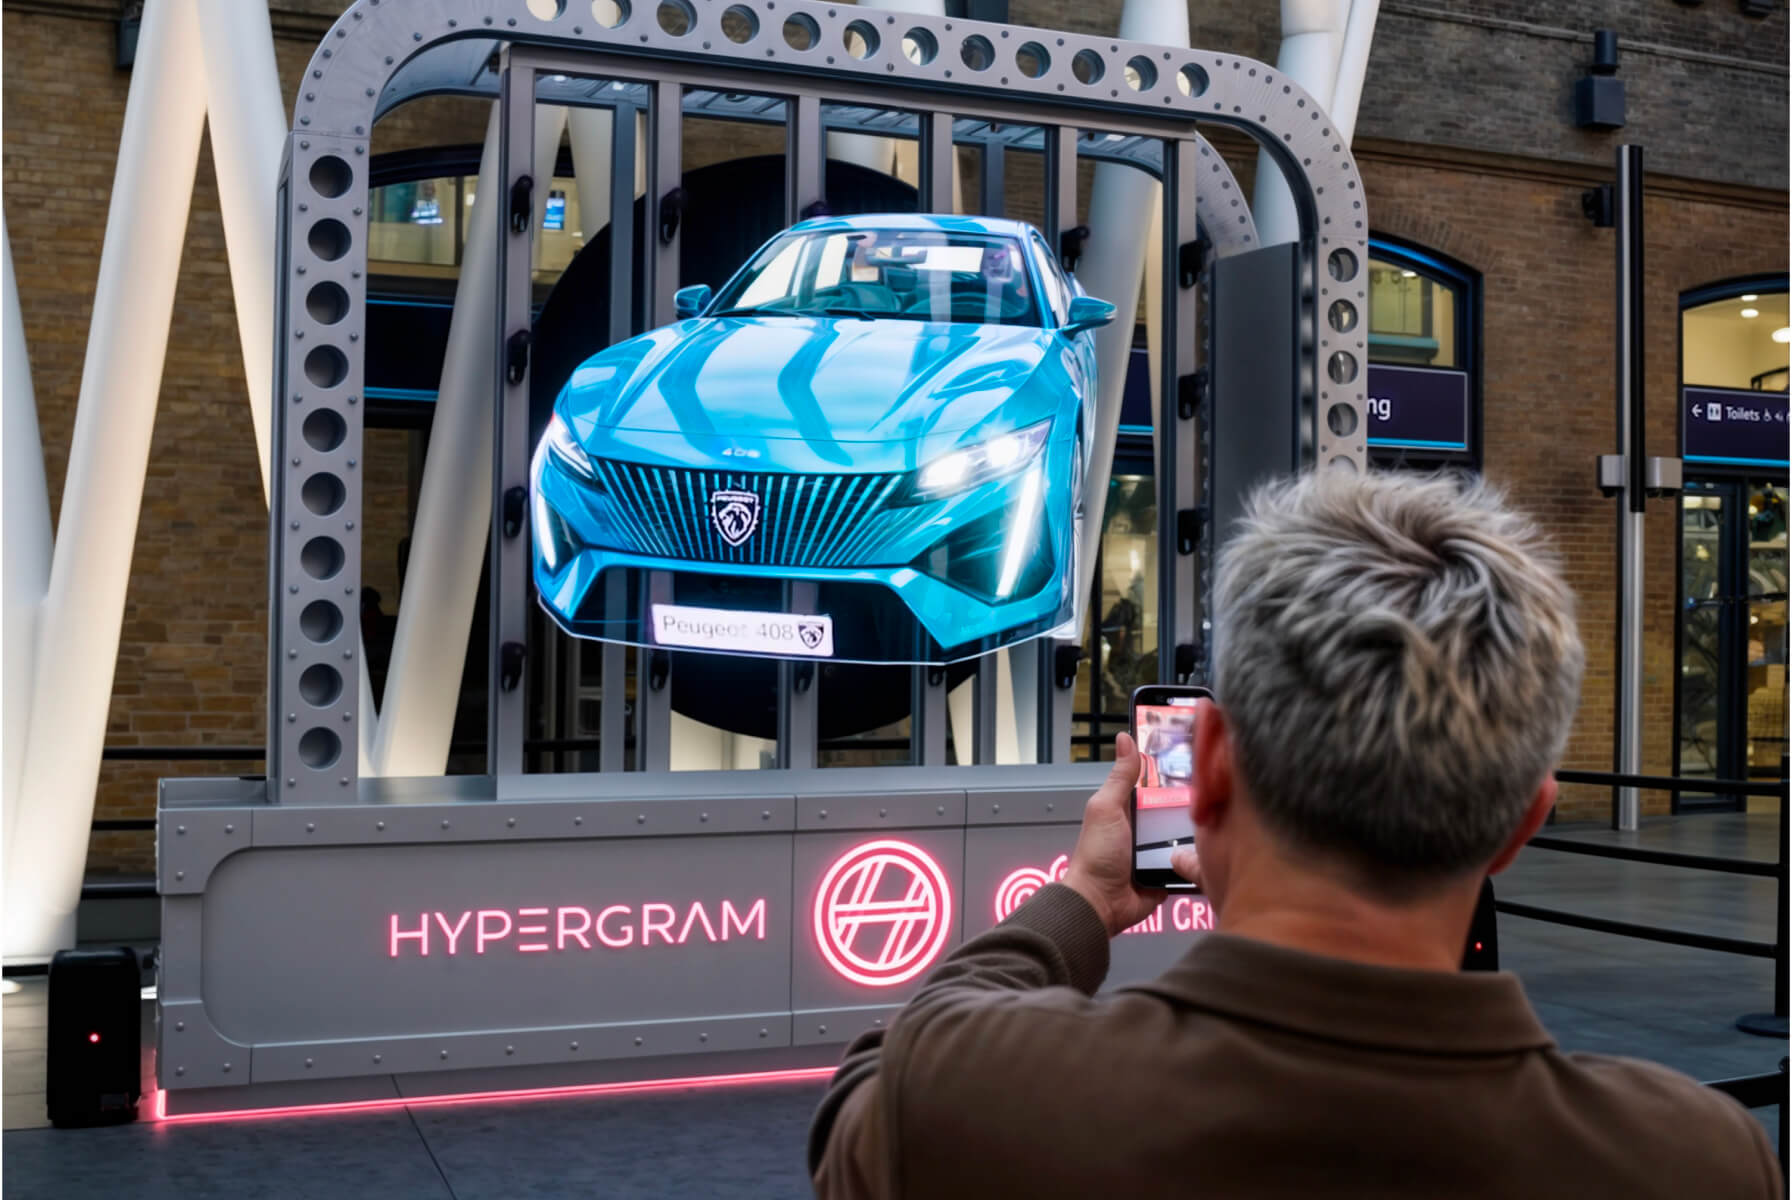
c) Viewing angle
When installing HYPERVSN Wall, it is crucial to think about the viewing angle. In some cases placing a HYPERVSN Wall higher up may be the best option.
For example, a 28-unit HYPERVSN Wall was installed by Our South Korean partner – Cosweal in collaboration with Hyundai Motor Group to get hearts racing at the Seoul Motor Show. This installation was placed far above the audience’s heads and could be seen from all around the showroom.
d) Safety is important to consider
When installing HYPERVSN Wall you need to consider the safety of your viewers. Our partners often choose to create a kind of physical barrier so that the audience won’t be able to reach the rotating rays on the devices. We have a range of accessories that will protect both HYPERVSN devices and the viewers.
Our partner Relsson took 3D visual marketing to new, even grander heights by installing a 40-unit HYPERVSN Wall displaying Albania’s Prime Minister as a giant hologram in the middle of the City centre. They also created a kind of giant protective case to make this installation look even better.
Another good example of a barrier being created is by our Estonian partner KNM Eesti. They installed an 8-unit HYPERVSN Wall and placed it in a kind of glass barrier to engage adults and children in a safe way. The holographic captain introduced them on the ship and promoted various offers.
e) Use a frame for easy installation
Using a frame for easy installation is a tip for any short-term installation, or a HYPERVSN Wall that needs to be moved. If you want to use our ready-made frames, we have some amazing accessories designed specifically for our Wall.
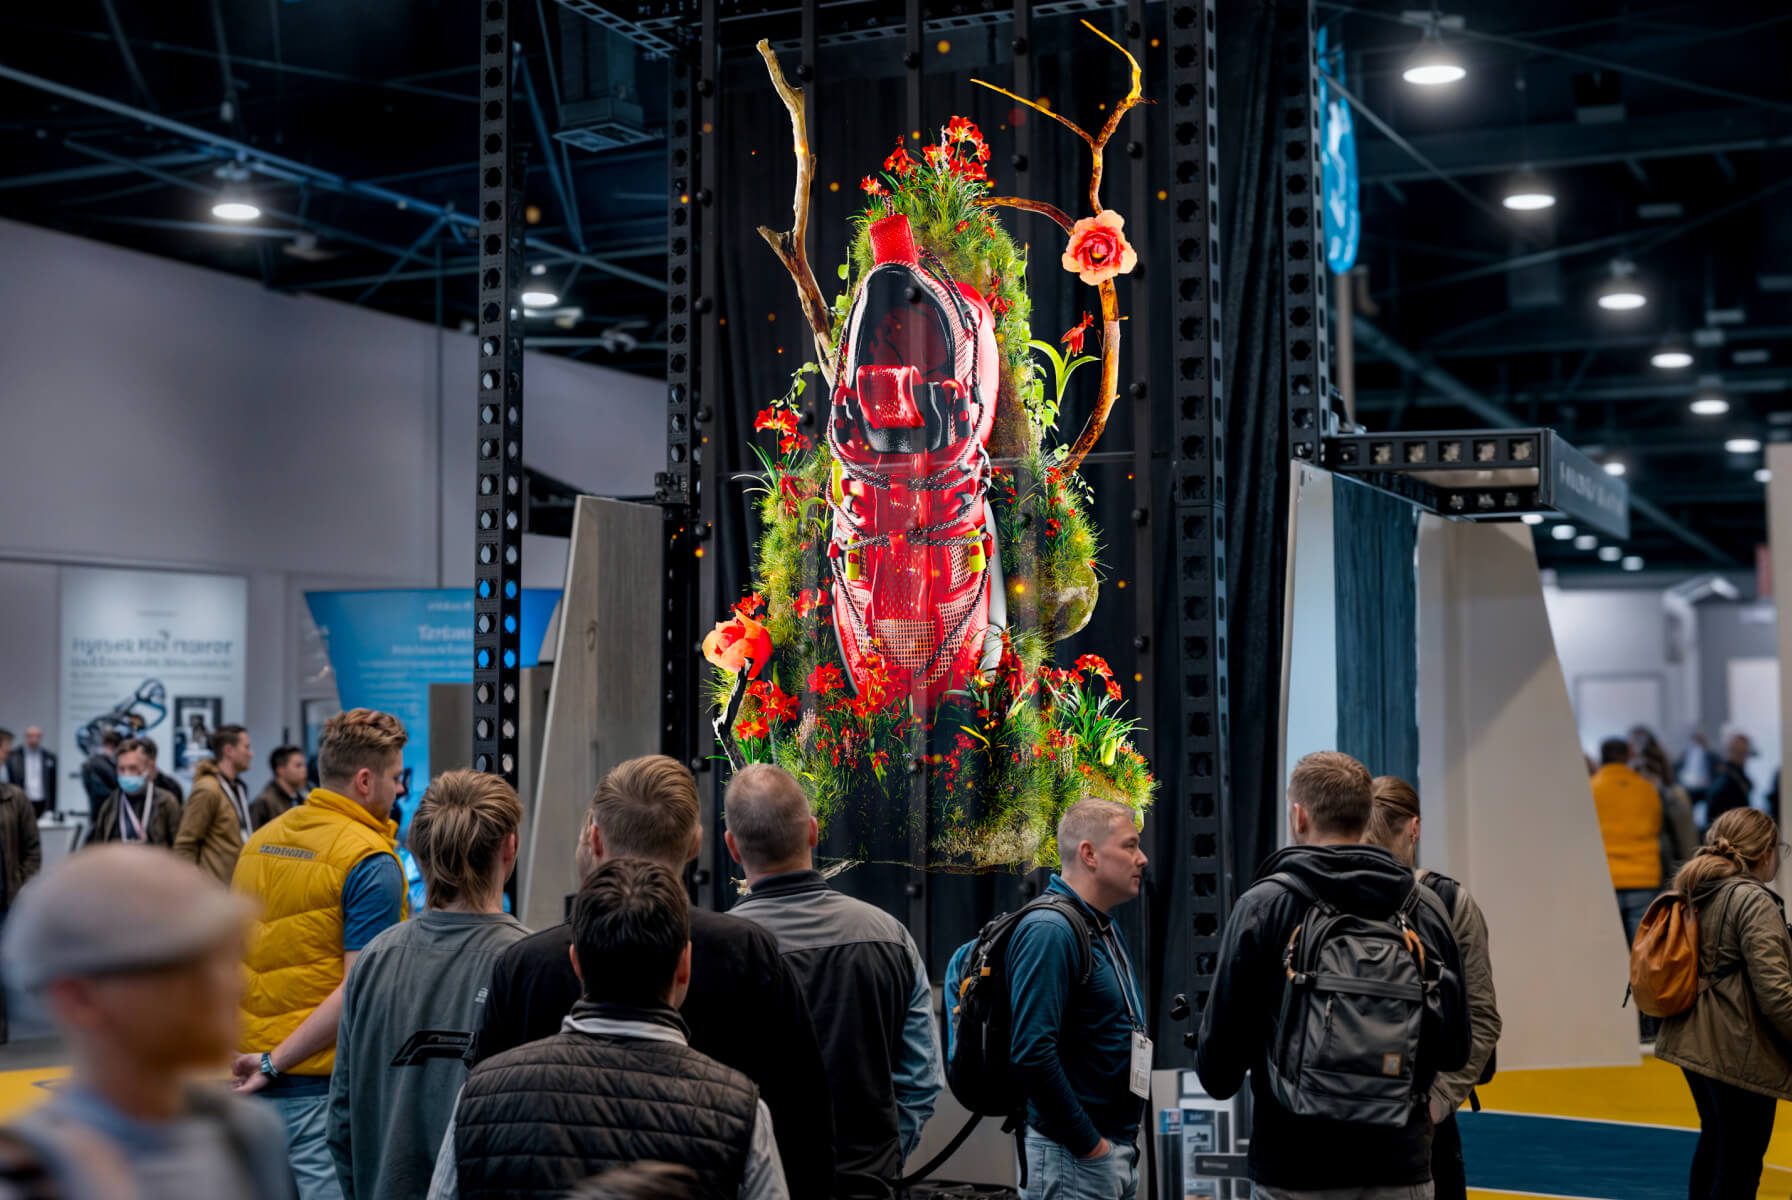
Our partner Cosweal created an absolutely stunning HYPERVSN Wall for Nike. The fascinating holographic Nike Air shoe was displayed on the huge 24-device HYPERVSN Wall. To make the installation process as quick and easy as possible, devices were placed directly on the frame.
https://www.youtube.com/embed/LQUL8N15NKg
Our greatest desire is to leave our customers satisfied not only with the final result but with the installation process as well. So if you feel stuck on any of the steps, please do not hesitate to ask our technical support team for help. This team of highly qualified professionals is ready to provide assistance at any time of the day or night.